Have you thought about going to a Powertex workshop but haven't yet, because you're not sure what to expect? Well come with me and let me give you an insight.
3d Flex Texture Workshop Samples
A few weeks ago I was invited to a workshop held by Jill Cullum, of Purple Meadow Arts & Crafts. She is the Certified Powertex Tutor for the area where I live. Jill has been on all her training, so this means that she is qualified to teach and use all the Powertex products.
Jill explaining the samples and what she did.
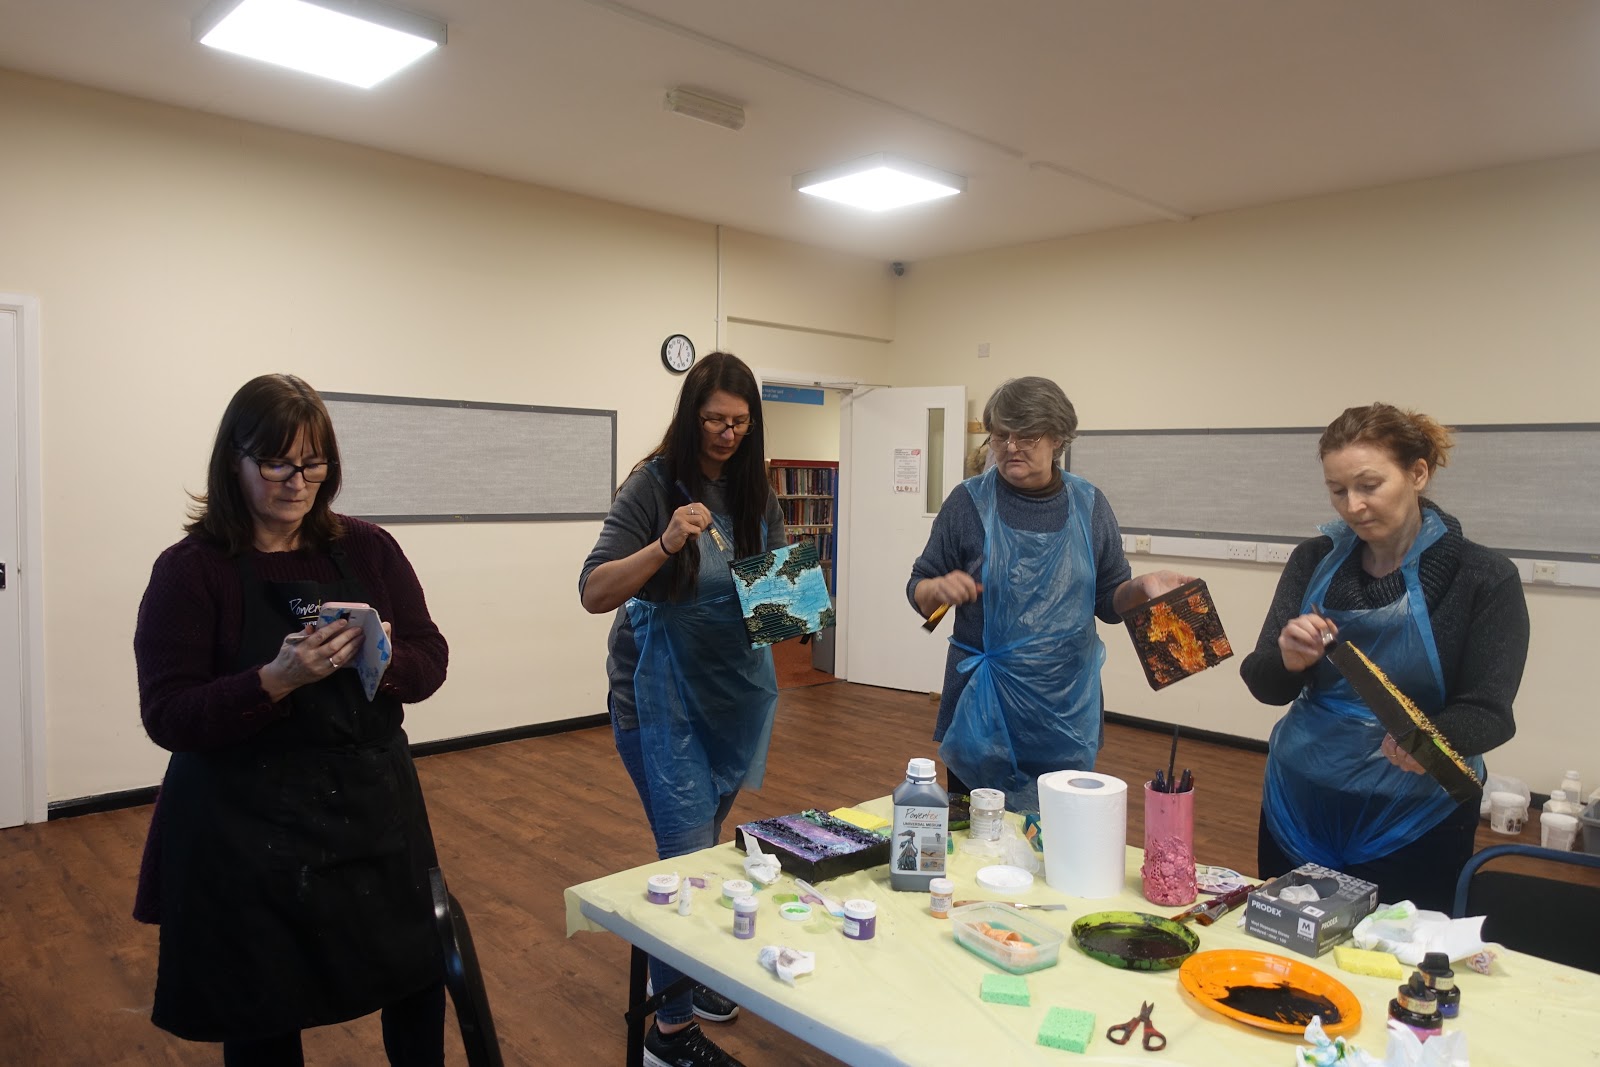
Everyone getting stuck in covering their canvas's. Janet, top left wanted to do the technique but on journal covers, so Jill brought along a journal for her to work on instead. So if you know what you want, contact your tutor before hand as they are very flexible and happy to oblige where possible.
Jill demo'd the next couple of steps and then went round checking everyone was okay and understood what they were doing.
Close up of Janet's journal covers.
Whilst the canvas's were in the drying box Jill demonstrated how to mix up the 3d flex. She showed the consistency of what they were aiming for.
Then showed how to apply the paste onto the canvas.
Then it was their turn, with guidance from Jill.
Whilst the makes were back in the drying box, we all sat down and had a natter with a cuppa and some chockie biscuits. I took this opportunity to ask them what they thought of the workshop so far.
One said that it was so different to what they normally do and it was good to come without any expectations.
Another said that they have learnt so many new techniques already and we haven't finished yet.
Another said that is was nice to do something different.
After the coffee break, all the pieces came out of the drier. Look at those amazing cracks on Anita's canvas.
Now the fun begins, adding the colour. The hardest part seemed to be choosing which colours to use from this huge selection. Everyone was encouraged to move out of their comfort zone.
Jill chose purple and green, these aren't her normal 'go to' colours.
Jill demoing on her canvas, how to use the wax with the pigments and acrylics and how to built up the layers and blend the colours.
Everyone well under way with their colours.
Really coming along now.
Fabulous blending.
Anita was building up layers to replicate the colours she had in a photo on her phone.
Once everyone was happy with their canvas's, the last thing to do was to touch up the sides to make them black again. The black just seems to make the colours pop.
And here are the proud owners with their finished pieces.
This workshop took around two and a half hours from start to finish. Just look what you could do with the right guidance. All these ladies really enjoyed themselves today.
How many of you have a bottle of Powertex sat on your craft desk but haven't opened it yet. A workshop is a great way to get started.
There are over 100 Certified Tutors dotted all around the UK. To find the one nearest to you, click on this link which will take you to the Powertex Tutors directory. Login and find your nearest tutor who will be happy to help you with a workshop. They cater for everyone, groups, one on one, two on one, a group of friends or join a scheduled workshop and meet like minded people, the possibilities are endless.
I hope this has given you an insight into how a workshop runs. I hope that it's nowhere near as scary as what you thought it might be, just go along. You will be made to feel very welcome and you'll love it so much, you'll want to go back. Most of the tutors have their own FaceBook pages and list their planned workshops under events. So if you see something you fancy, get it touch. Nothing is out of reach with the right guidance.