Sunday, 26 August 2018

More Paint Pouring


Yesterday I had another play with paint pouring, but decided to try on a smaller scale.


This time I tried the swipe technique with a damp kitchen towel.


And this is what I ended up with. I would have liked more cells and probably less white, but it was only my first try!


Then I tried one on watercolour paper. This one is still drying this morning! Still not many cells to speak of and the green has somewhat taken over too, but I have less white showing.


This morning, this one is dry and I'm quite pleased with how it came out.


Close up of the cells which came out pretty good, but they are quite small.


And this one wasn't quite dry, as you can see, top left, I stuck my thumb in it!! I cut out a face profile, drew round it and painted it black.


Close up of the cells, again not many of them for some reason.
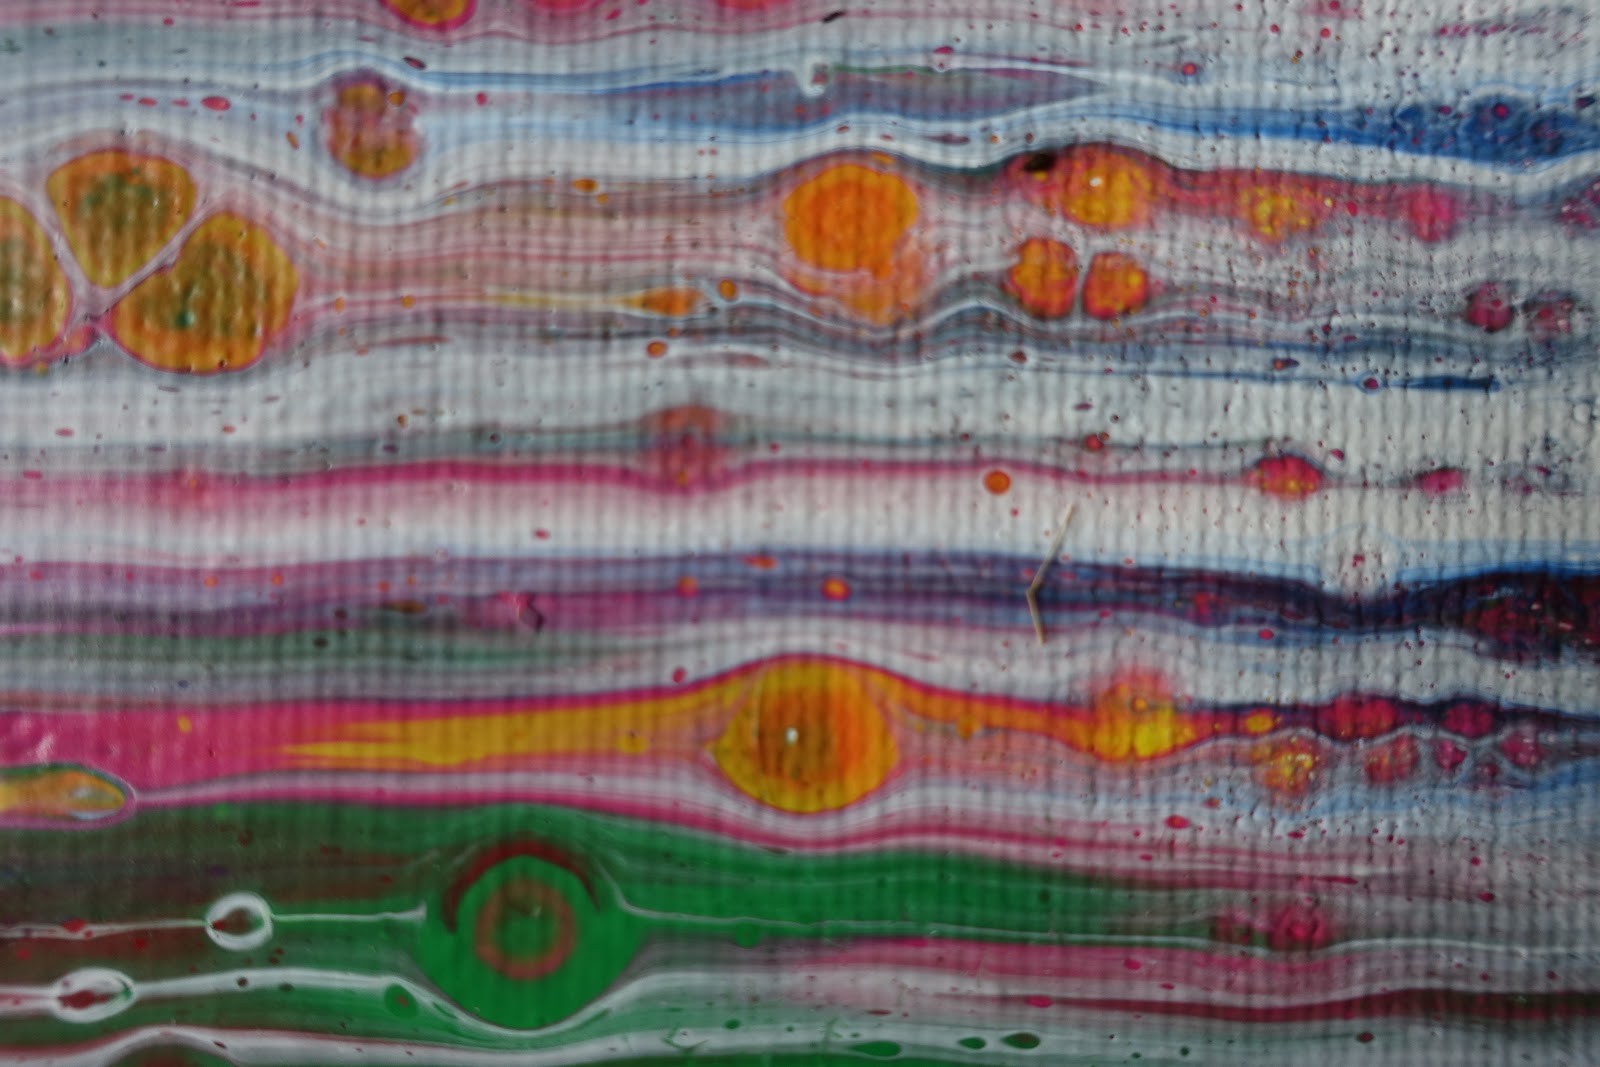

I think I've left too much white paint over the colours, ie I didn't swipe enough off. 


And just an update on this one, I added an image.

All paints and pouring mediums are from the DecoArt range.


Friday, 24 August 2018

Paint Pouring Play


Today I decided to have a play with paint pouring. I mixed the paint with the pouring medium to a watery consistency.


I started to pour each of the colours over the bottle bottoms which created the flower shapes.


I stopped when the paint started to flow over the edges. Used a wooden tool to pull the paint to give the petals more shape.


As I had loads of paint mixture left I did the puddle pour and then blew them out with a straw, which sort of created a flower. I forgot to go back in whilst they were wet and drag some paint to define some petals and add a bit of black to outline them. But not to worry, it was only my first go. 


Here they are just leveling out a bit, but as you can see, I still had loads of paint mix left. I did move them outside to dry, but then it rained and I forgot about them, so they got a bit wet again!


So with the excess, I used the white, black, orange, red and purple and also mixed up some pewter and old gold metallics. I added some silicone oil into the mix in the hope of creating cells, but that didn't work out.


Close up of the middle part of the canvas which is quite large at 20" x 16".


And this is a close up of where a lot of the white came through.

This one is still on the dining room table drying!

All the products are from the DecoArt range.  I used the Americana acrylic paints and pouring medium.

Sunday, 19 August 2018

Cracked Vase


Remember the pot vase that I picked up at the car boot?


I gave it a coat of prussian blue paint.


Then I mixed up some 3d flex, ivory powertex and a bit of water to create the mix to spread on the to make the cracks.


I mixed up batches at a time, so I wasn't left with way too much.


I used a pallet knife to spread the mix on this side and it created lovely large cracks.


And when I applied it to this side I used my hand to press it onto the vase. As you can see it's still created cracks, but in a different way.


I coloured it using lots of different mediums. Firstly I sprayed it with Dylusions inks in orange. Then used golden hi-flow inks in napole red and quinacridone red and finally once it was all dry I used the Powerwax mixed with ginger and peach pigments to cover all of the vase.


And this is the other side. I also painted the neck and bottom with black paint.


Close up of the side that was applied with a pallet knife.


Close up of the other side applied with my fingers.

***Edited***


When I went for a walk with Fraz this morning, I picked up these dried poppy pods that had broken off and were lying on the pavement.

Wednesday, 15 August 2018

Powertex Figures


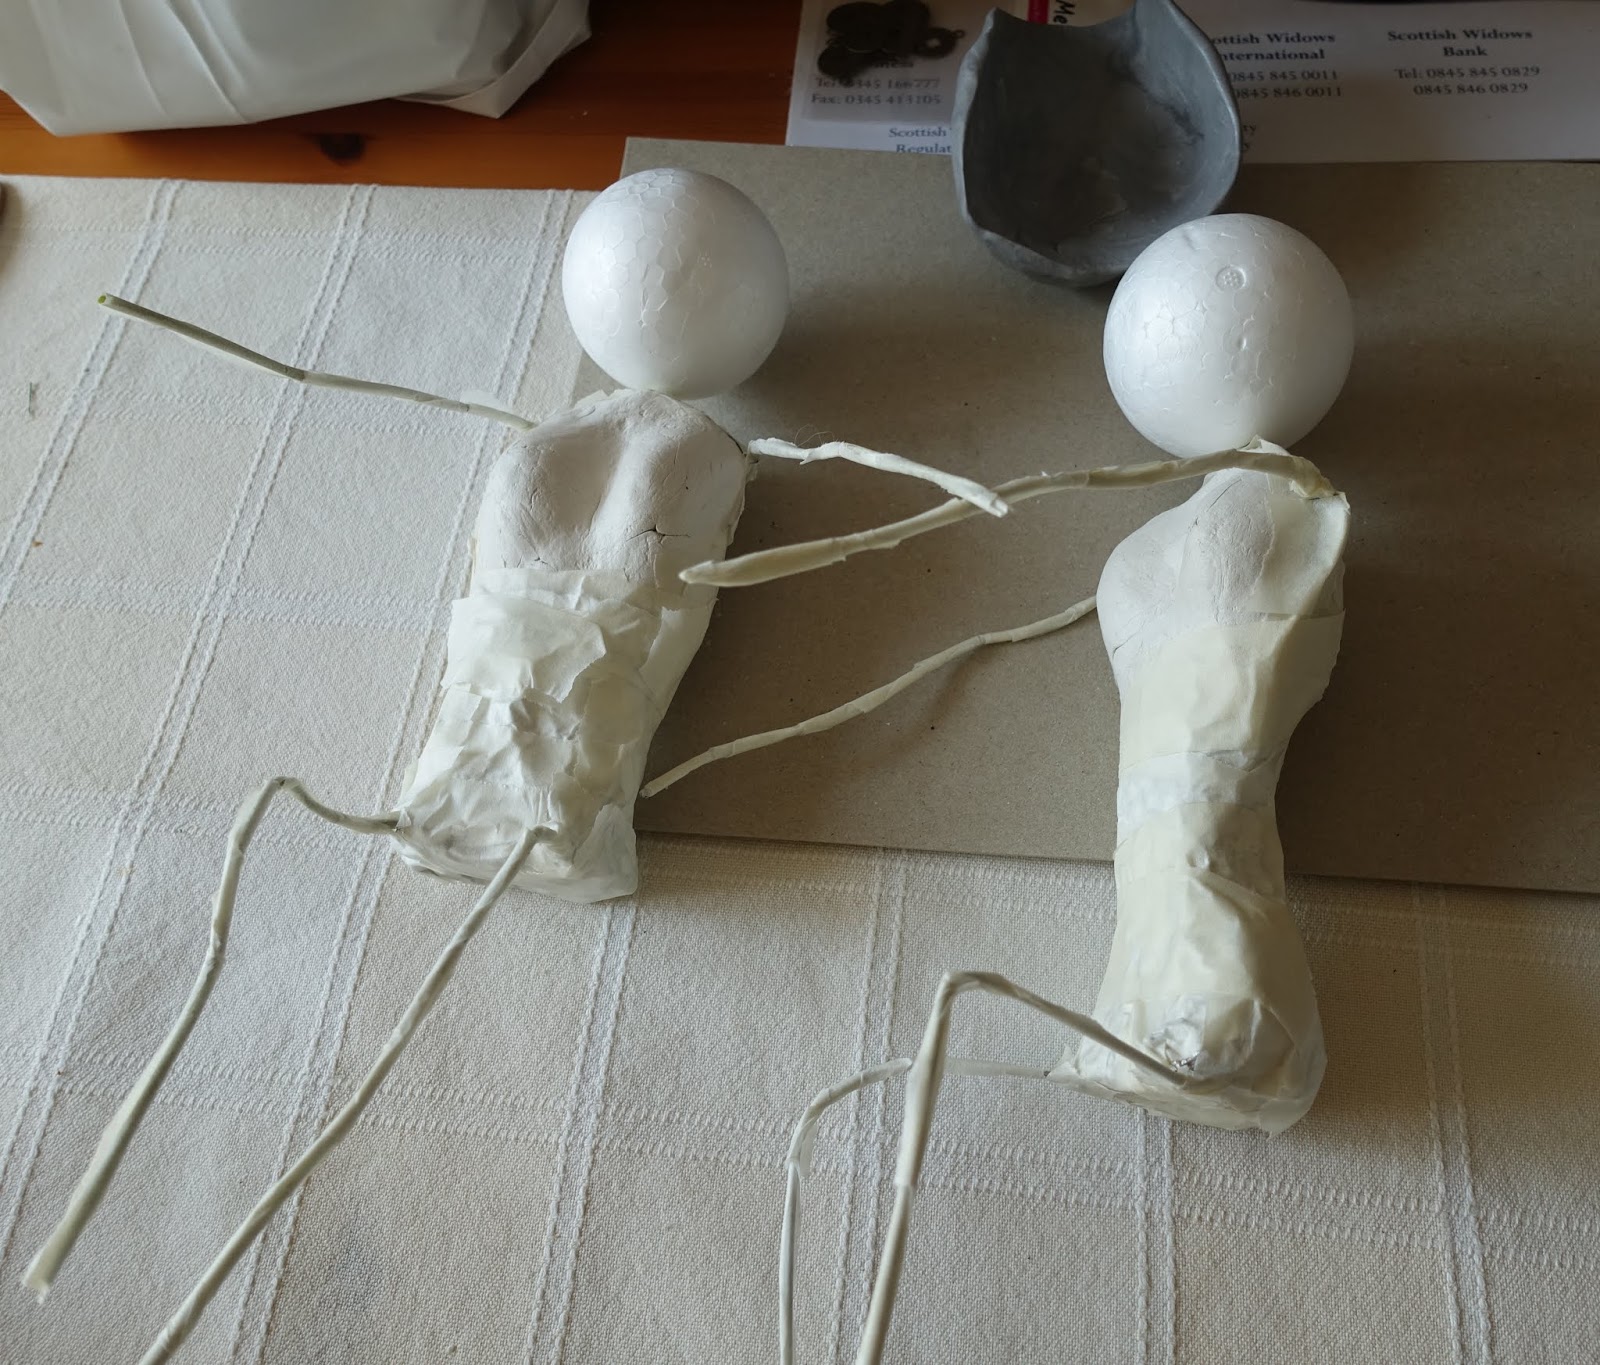
I made a new mould from a polystyrene shape of a bust and using wire and tinfoil I built up the bodies with it and used a polystyrene ball for the head. I put the head on so I could determine what size ish to make the body.


I started off by covering the pieces with t-shirt fabric and the arms with craft-t fabric as a base layer.


I added some more fancy fabrics and draped them over to make the clothes. 


I wanted to cover the arms by making some sleeves as opposed to just draping fabric or scrim over them. I also put cling film over their bodies and added the head so I could create some hair.


This is them from the back with all their hair. They were left outside in the garden to dry for a while.


Once dry I brought them inside and started too look at different things to sit them on.


As I had some Powertex left and also wanted to play with the mulberry bark to make some clothes I started on a third one. For this torso I just used wire and tinfoil and not the clay mould.


Once they were all dry I placed them on different sized bases.


From another angle.


And finally from the back.


After about two weeks I added pigments in rich gold and bronze gold Colortricx to bring out the hi-lights. I personally like to wait until they are totally dry so I can really attack them when dry brushing.


The base they are sat on is a piece of oasis painted in bronze Powertex, however the base hasn't hardened, it's just coloured.


And a view from the back.


And another view from the top which shows the hair better.


I turned the oasis around and placed the figure on top of the block.


And this is the smaller one sat at the same angle.


This is the smaller of the three and he's sat on the block. He won't sit on it the other way round as he's not weighted enough on the upper half as I didn't use any clay with this one for the core.


And finally all three sat on the block. 

I still haven't decided how I want to display them yet! I want to get a piece of fence post wood to make some blocks to sit them on to see what they would look like before I commit to anything permanent.

Sunday, 12 August 2018

Soft Toy Dog


Remember my car boot finds from last weekend? Well here is the soft toy.


I cling filmed the ears and the tail and 'painted' on the ivory Powertex.


I just did the back, body and legs and then set it outside to dry.


Next I did the face and the paws. I actually rubbed the Powertex into the paws and the muzzle as opposed to painted it on. I styled the muzzle on how I wanted it to dry and also made sure the fur on the feet was flattened so he would stand up on his own once he'd dried out.


Once he'd dried, I took the cling film off and powertex'd his tail, ears and nose. I used the transparent on his already black nose. I styled the ears and used cling film to keep his tail straight whilst it dried. 


Left him on the grass outside to dry.


And here he is playing in the garden.


I love how he looks like he's running towards me!

Blog Archive