Sunday, 10 June 2018

Highland Cow


I've wanted to make a highland cow using Powertex for absolutely ages, but couldn't find anyone running a workshop on one at all. Then I enquired to what animals were covered in this book and low and behold, a highland cow was one of them. So I bought the book.


Using bubble wrap, wire, tin foil and masking tape I created the basic shape.


I mixed some stoneart and powertex together to make a clay and covered the whole area.


Added some features to the head.


Once the clay was completely dry I added the powertex and the coat. I decided to use the bronze.


This is what I used for the top coat. Sheep locks!


I 'painted' the clay with the powertex in the areas that I wasn't adding any wool.


And finally after about 5 days of leaving it to dry (and getting some sunshine) I added the pigments to further bring out the textures.


I really love how he's come out.


And he looks very happy grazing in the grass!


I gave his horns a coat of satin varnish.


I might even put a ring through his nose!!

He isn't staying outside, he is now sat on my window sill in the dining room.

Saturday, 9 June 2018

Wet Felted Vessels Workshop


Today I went to the lovely Needle and Thread near Lincoln run by Sally, to do a wet felted workshop with Robyn. 


Firstly we had to decide on the shape of our vessel. We all (I say all, there were only two of us) chose to keep it simple and do a bowl shape, so we started off with a circle. Covered both sides in two layers of merino and put it to one side.


Next Robyn showed us how to make various things including canes, balls, spikes and prefelt.


This is my cane in the making. Once you get it started you can roll it in bamboo and it really helps to stiffen it up.


I decided at the eleventh hour to change my shape to an eye sort of shape. just so I could get all the elements on that I'd made.


Anchored the pieces down, but looking back I think I used too much, especially around the top of the larger cane circle.


Robyn had brought her drum carder and kindly let us have a go with it, so we were able to make our own batts for the top coat and blend loads of different colours together. Nepps and silk waste was also added. Eveything was then wetted down and we worked around each element for which seemed like ages to make them all 'stick' together.


Robyn laying her top layer down.


Wendy working her individual elements into the main piece over a piece of thin plastic.


In the room next door they were using free machine embroidering to create pictures.


After working around all the individual pieces to make sure they are all linked with the wool.


This one is Robyn's.


This one is Wendy's.


We then rolled about 40 times, turned 90 degrees and turned it over to until all 4 ways had been done and the resist started to buckle. 


Once this happened we took the resist out by making a cut through all the layers and pulling it out through the hole. Did the hot and cold shrink thing, threw it on the floor a few times to shock the fibres. Soaped it again in hot and cold, worked the edges so we didn't end up with a seam and basically worked it until we were happy with the look and feel of it.


Once happy with the way it had felted, inside and out, we cut the small resists out that we put in to make the craters.


Once worked and shaped, we stuffed them with carrier bags to help them keep their shape.


And a view from the top.

I will be back tomorrow once it's dried to show you close ups of the different elements.

Friday, 8 June 2018

Egyptian Influence


I decided to use a piece of corrugated cardboard as my substrate. I got some rather interesting packing recently and wanted to incorporate it too.


I placed some of my recent clay pieces made from Artyco moulds, where I thought I wanted them.
Next I chose the fabulous new heiroglyphics stencil from Artzone designed by Debs Wainwright. 


I cleared the corrugated to create the background using white modelling paste and the fabulous Heiroglyphics stencil. I decided to go all over rather than just where I thought I might need to put it.


Once dry I placed all the other pieces back on and covereded everything in black powertex.


As you can see, everything was covered really well.


Once completely dry, I dry brushed the whole piece with gold pigment to bring out the details.


Close up of the dry brushing. You can really see the details from the stencil. 

Monday, 7 May 2018

70th Birthday Card - Mum


Tracey Evans reminded me in a live FB she did a few days ago about the shaving foam technique to create backgrounds. I used alcohol ink with mine.


I based this card for my mums 70th birthday on the one she made on the live feed.

Sunday, 6 May 2018

Pouring Medium Results


I wasn't going to use the DecoArt top coat on all of the pieces I made yesterday. (If you missed anything you can catch up here.) but, when I touched them this morning, they were all really sticky and rubbery, so I decided to do them all. Not sure if you can tell any difference, but this is the first attempt.


Close up of the middle of the canvas where I think some 'cells' were created!


Having mixed up more product this was the second one. As you can see, some cracks appeared in the top coat and I have no idea why, unless I didn't put enough on.


This is only a 3" x 3" deep canvas.


Top coat also added to the chipboard jigsaw piece.


And finally the pour on the piece of glass.

They've been outside drying for about 6 hours and they still seem tacky and sticky but they also seem dry. I'm hoping they dry a bit more over night and lose their stickiness.

Saturday, 5 May 2018

DecoArt Pouring Medium


I was very kindly sent these products from DecoArt to play with - Americana paint set, pouring medium and top coat.


As it was a beautiful day, I decided to set up in the garden, especially as it's messy!


I chose four of the colours from the pack and mixed them 50/50 with the pouring medium.


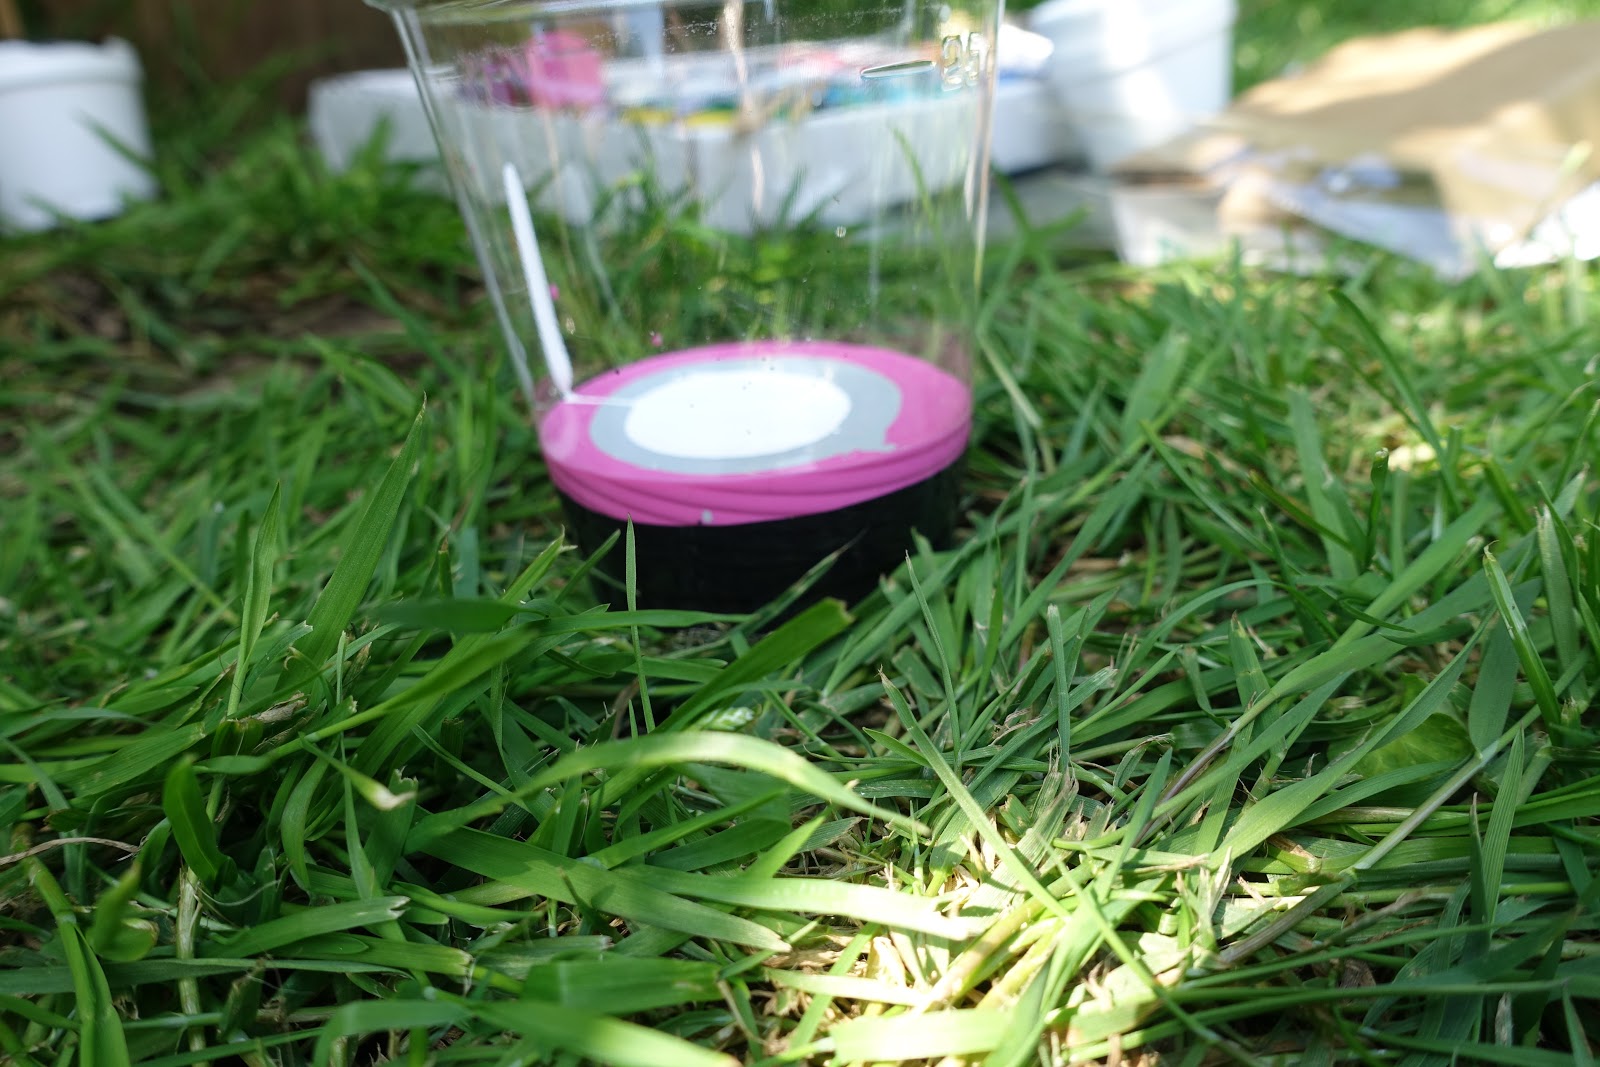
Then I poured them one by one into another cup, black first, then the pink, grey and lastly the white.


And this is how much paint I had in total.


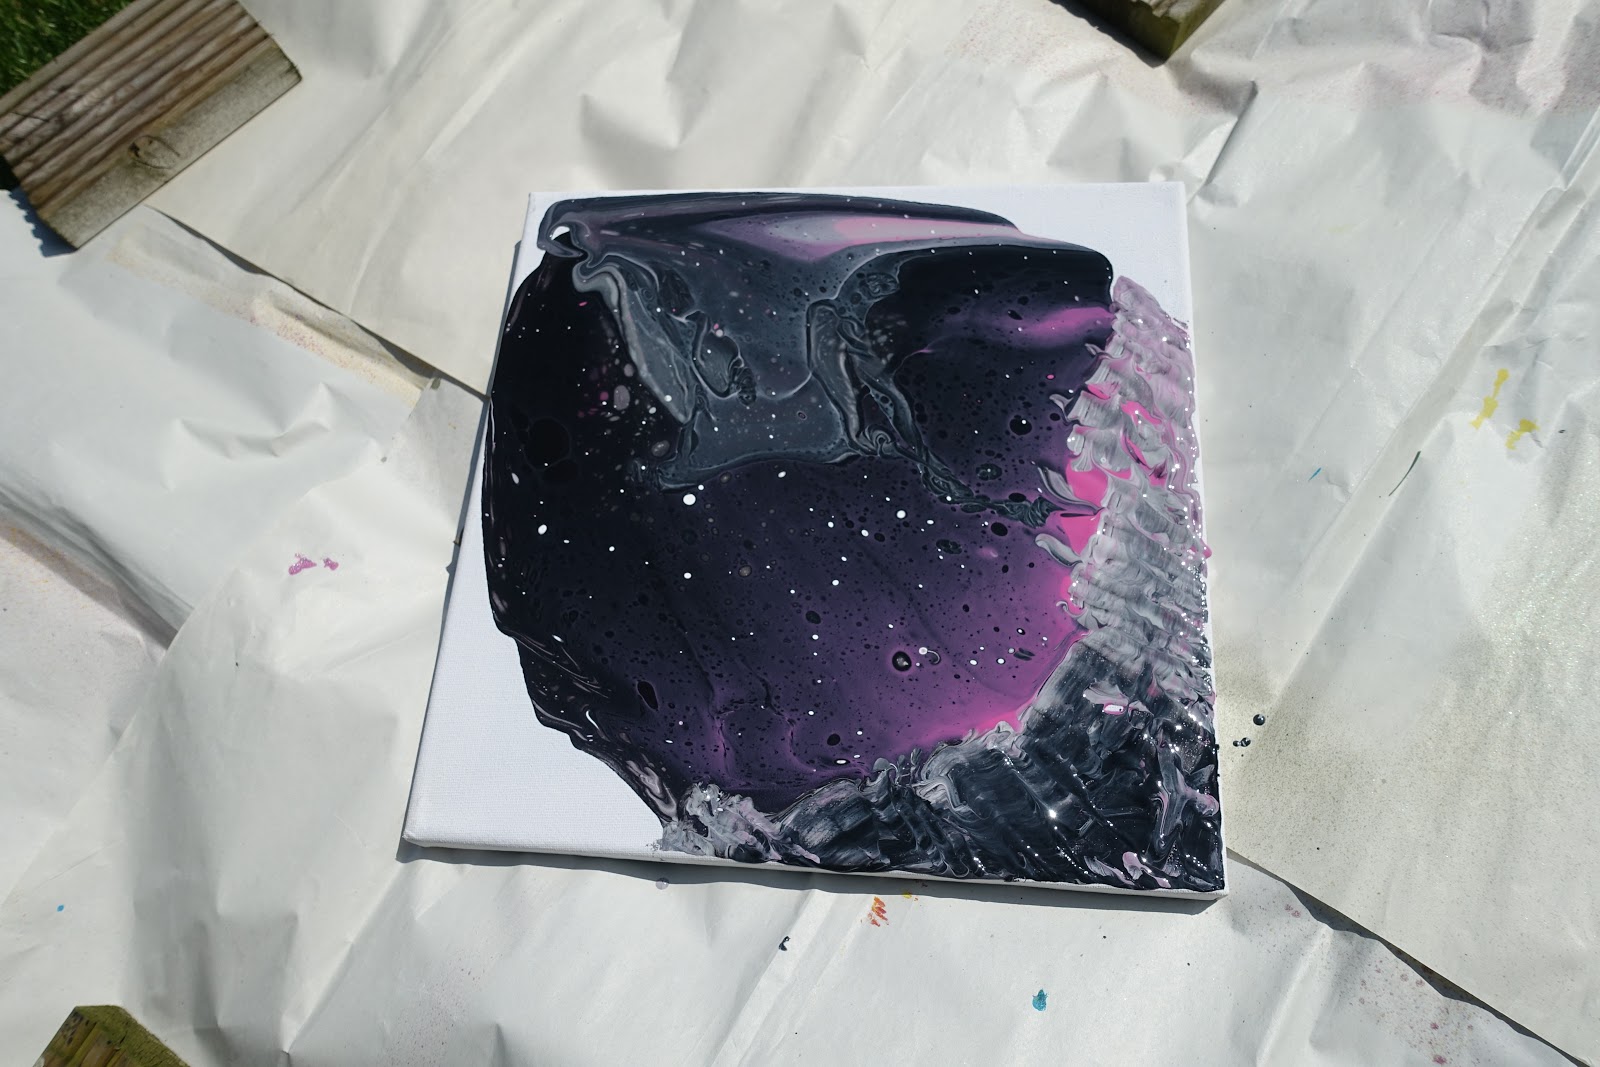
I took a 12 x 12 canvas, placed it on top of the cup and flipped it over.


And this was the result. Firstly I didn't make up enough paint as I couldn't get it to spread across the whole of the canvas, and secondly, I think I'd have been best to cover the surface in either a black or white mix first. Good news is, I've learnt stuff from it.


So I decided to have another go using the same colours.


This time I made up much more and had 3/4 of a cup as opposed to 1/4.


And this is what I poured out after lifting the cup off. I then tipped it and dribbled it to the edges.


I decided to try some different colours but didn't have much pouring medium left, so went for a smaller canvas.


Not much mixture to play with again.


Blue, green and white, and then I tipped.


I also tried the remainder of this pot on a small piece of glass and mopped some of the excess paint up that dripped on the paper.


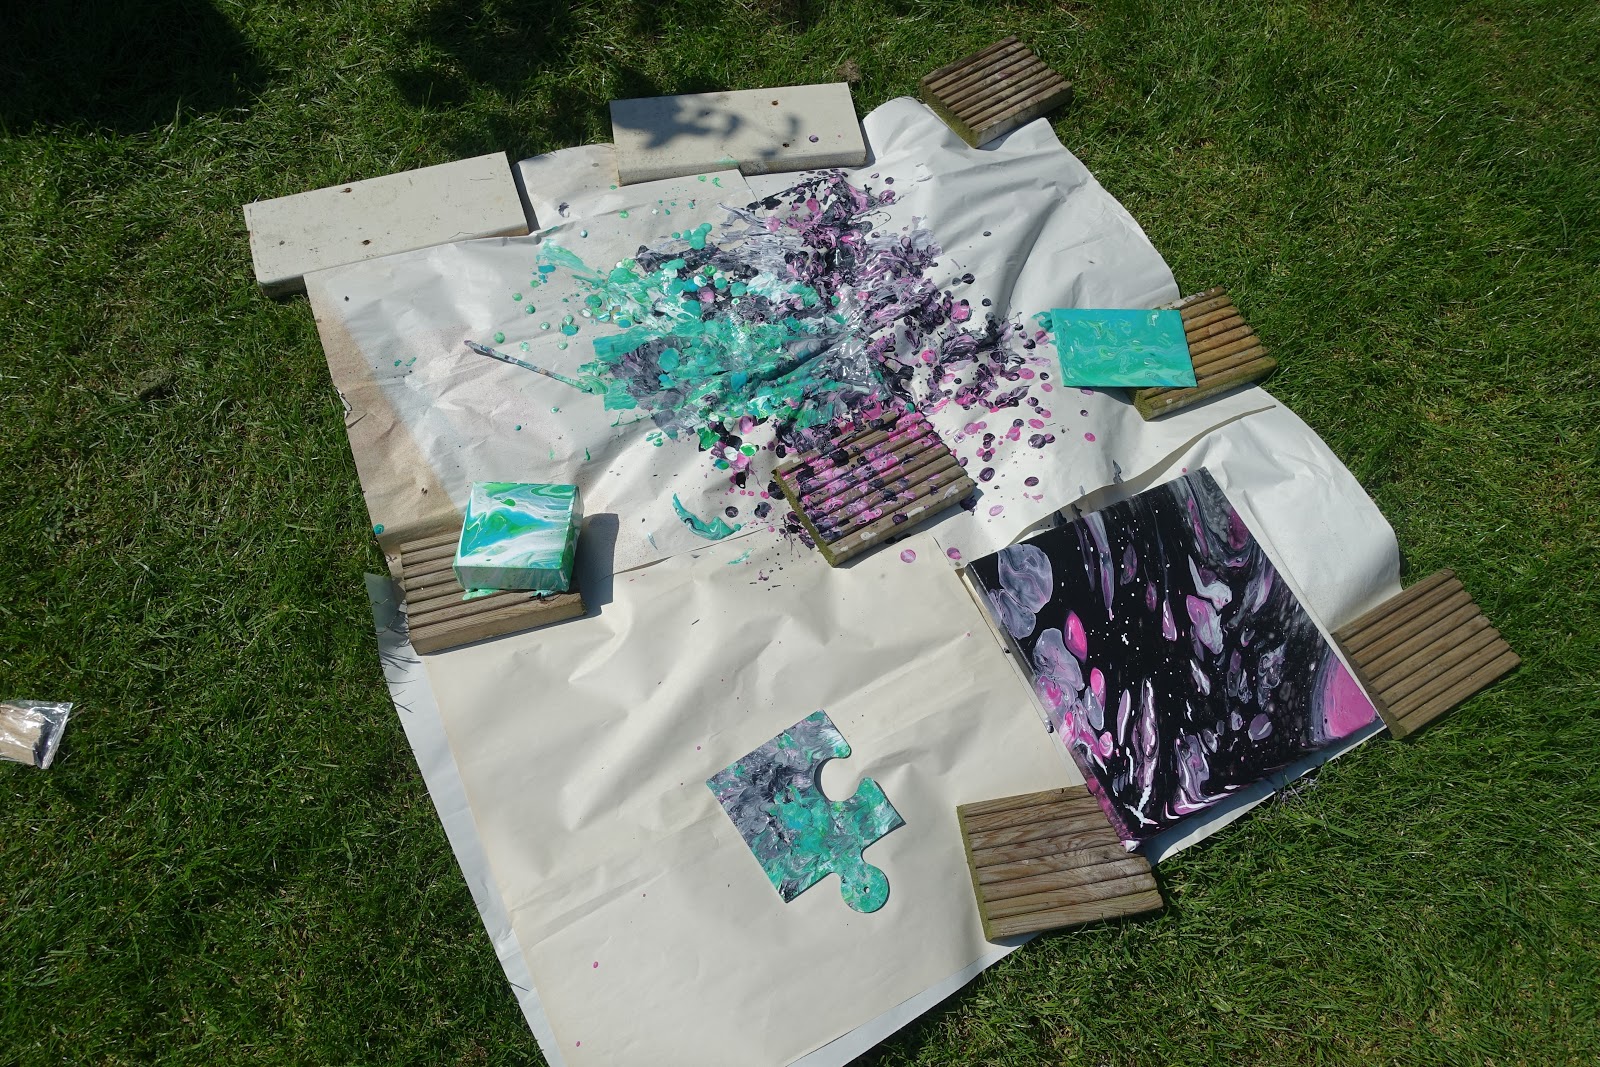
It was windy, so I had to hold the paper down with pieces of decking wood.


So this is my first attempt which I quite like. It wasn't fluid enough and I didn't mix up enough paint to start with. Also I dropped it face down onto the paper so that didn't help either!!!


This was the result of my second attempt using more paint.


I didn't have any large deep edge canvas's but love how this edge came out.


This is the result from the small, deep canvas.


And the edges.


They came out great.


The deep sides definitely work best.


And the last edge.


This is the one on the piece of glass.


It sort of split when it dried and you can see the light through it.


And this is the back looking through the glass.


This piece I just squished into the paint that had dripped off into the paper.

Tomorrow when they are fully dry I am going to give them a layer of top coat and we'll see if it changes anything.

I've also found out that I apparently should have created 'cells' using this technique, but as you can see, that didn't happen!!

I've had great fun and learnt a few things along the way that I'd do different next time, but unfortunately I've used all the pouring medium and we still can't get it here in the UK yet!!


Blog Archive