

All ready and set up on the dining room table.

Laid the wool over the template.

Wrapped the wool over on the other side.

Layers of wool laid on the other side of the template.

I massaged soapy water onto the piece and got more aggressive as it started to felt. I kept turning it over and also made sure I worked the edges.

Once I was happy that it had felted I cut a hole in the middle of the front and pulled out the resist.

And this is what I ended up with after I'd gone in again with the soap around the cut edges to felt them.

Then I stuffed it with dusters to the shape that I wanted it to take once dry and left it over night in the airing cupboard.

It is now totally dry, but I wanted to show how much you have to allow for shrinkage.

Jo Prosser very kindly sent me some locks still attached to the wool so that I could attach them around the outside edges of the opening.
I put toy filling inside to make it a bit stronger and to help it hold its shape better. I also made like a shelf at the front too with the locks.

I also felted some of the same locks at the top of the hole as were on the top.

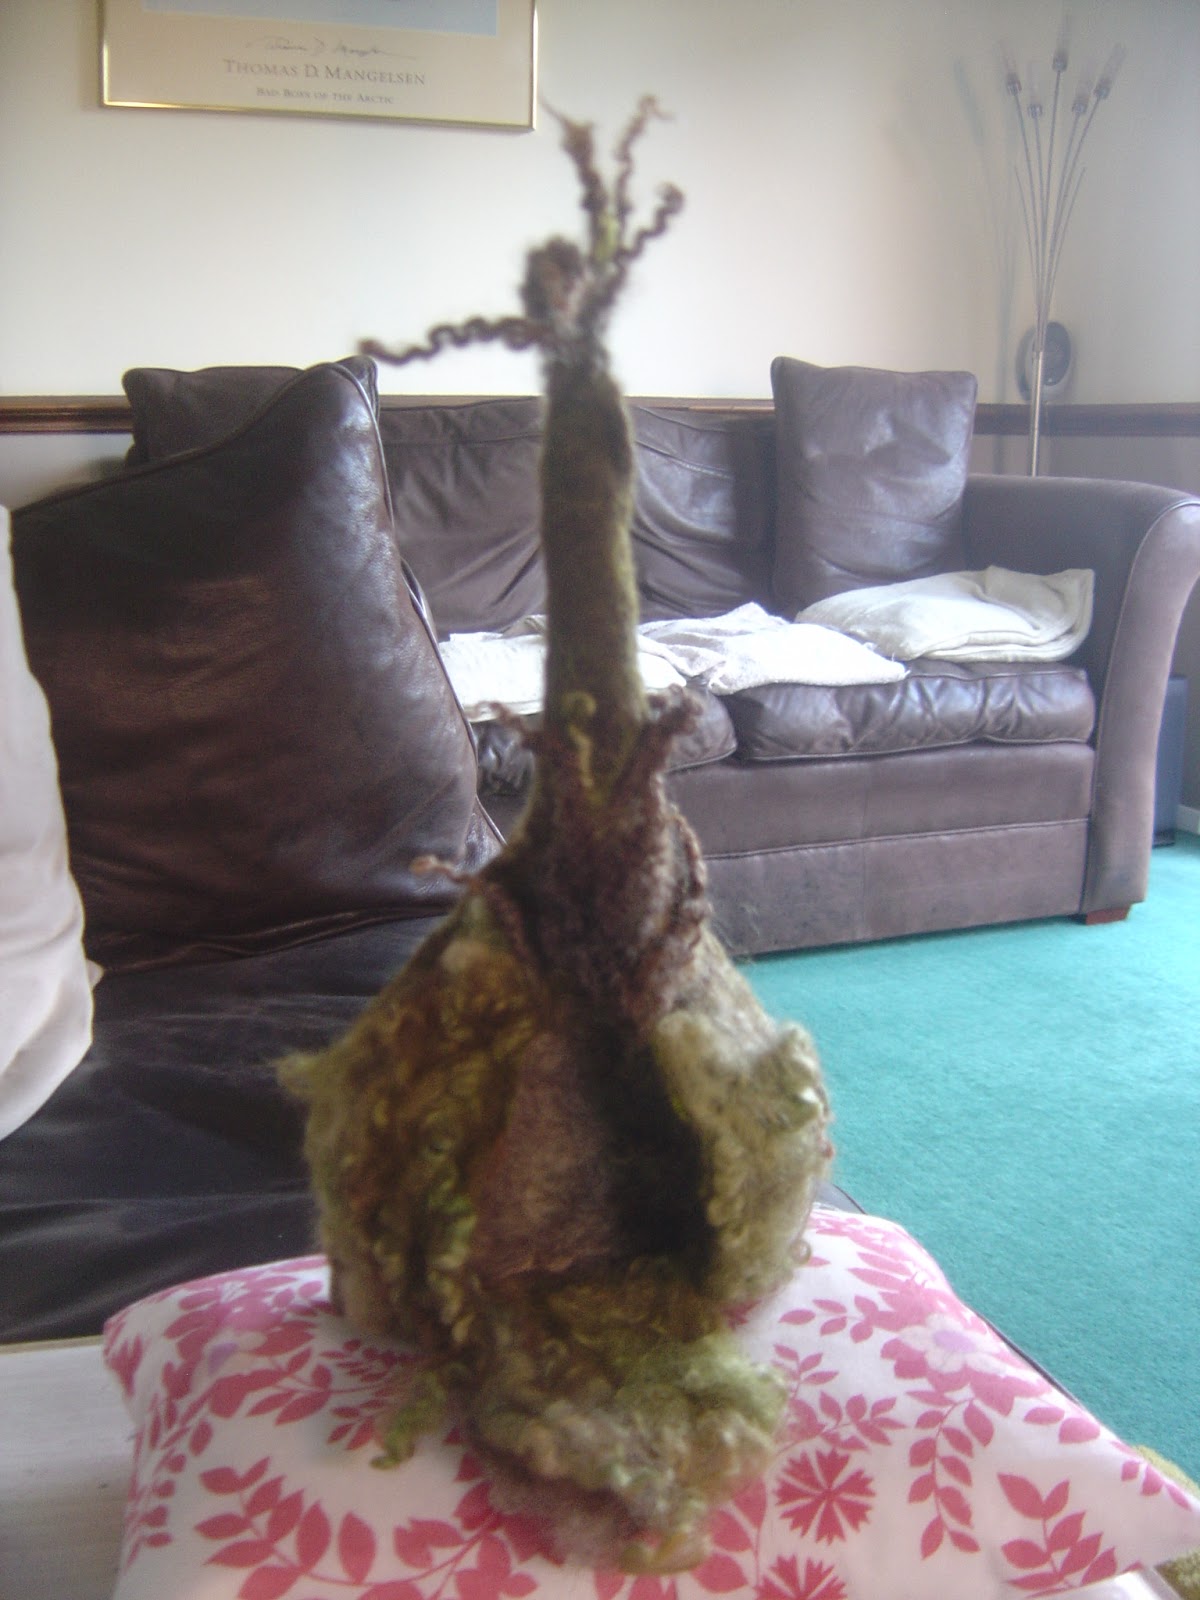
And this is how it looks from the back.
I'm really pleased with how it turned out.

No comments:
Post a Comment