

The table ready and set up for us to go. As you can see there are three pieces of lovely ragged raw wood for each of us.

Alli giving us a run down on what we were doing and dishing out 'pink' gloves!!! Yikes!!!

First step, paint the panels with gesso and dry with a heat tool.

Lesley gessoing her panels, don't forget the edges!

Next we added some stenciling using the Powertex Easy Structure product, which is basically like a texture paste, modeling paste or grunge paste.

The girls adding their stenciling to the panels whilst wearing their pink gloves!!

We dried the Easy Structure with a heat tool.

This is about 3 steps later. Next we mixed a 50 / 50 of 3d flex and ivory powertex to make an icing like consistency to literally drop and slop across our three panels. We used a pallet knife to create texture and stringy bits, some of us added the sand balls in. Next we sprayed the powertex and 3d flex mix with bister and left it to dry on it's own for now!

Next we decided what embellishments we wanted to use and roughly placed them where we wanted them to be.

Using powertex we stuck them down on the panels, dried them with a heat tool and gave them a coat of gesso and then dried that with a heat tool too.

This one is Lesley's, she is just deciding where to place her embellishments.

And then all the additions got a final coat of ivory powertex, this is to ensure that everything dries hard, ie the corrugated cardboard. Everything on all three panels was then zapped with a heat tool and I'm not sure if you can see or not, but the bister over the powertex and 3d flex mix has started to crack.
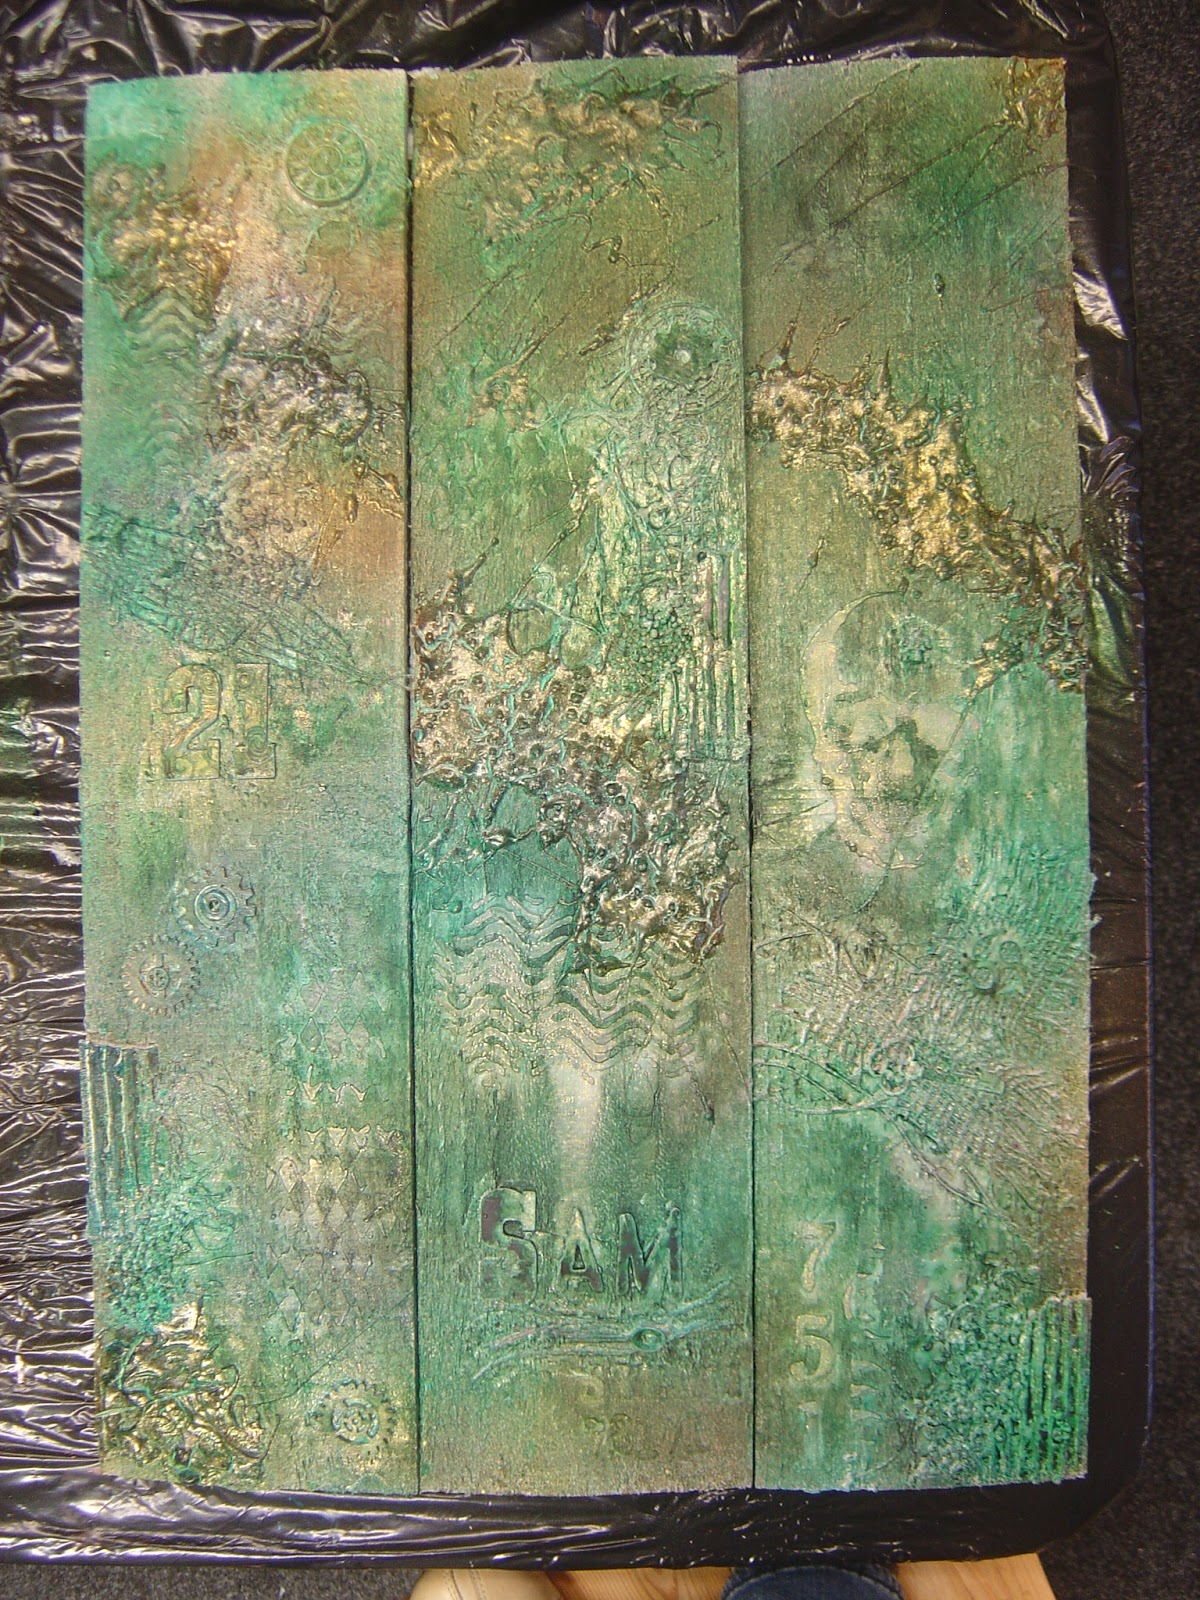
Then the fun started. You would not believe how many layers of different colours of bistre and spray paint this has had on it, but basically I just kept going until I was happy with what I had. And if any of you eagle eyed people out there can spot some pink, well you'd be right, I used a bright pink with a mica in it!!
I left mine there for the day as I wanted to go back to it to do some dry brushing when I got home after it had 100% totally dried.

Chris admiring what she'd done and the rest of the girls in the background drying their panels.

This is Chris's once she'd dried it.

Helen is still drying hers as her 3d flex / Powertex mix was quite thick so took a while to dry.

Lin's, again she also had a thick layer of the mix, sorry the photo is a bit blurred but I was taking it over her shoulder whilst she was still drying it.
We finished up at the workshop and all decided to do the dry brushing when we got home after the panels had had time to properly dry.
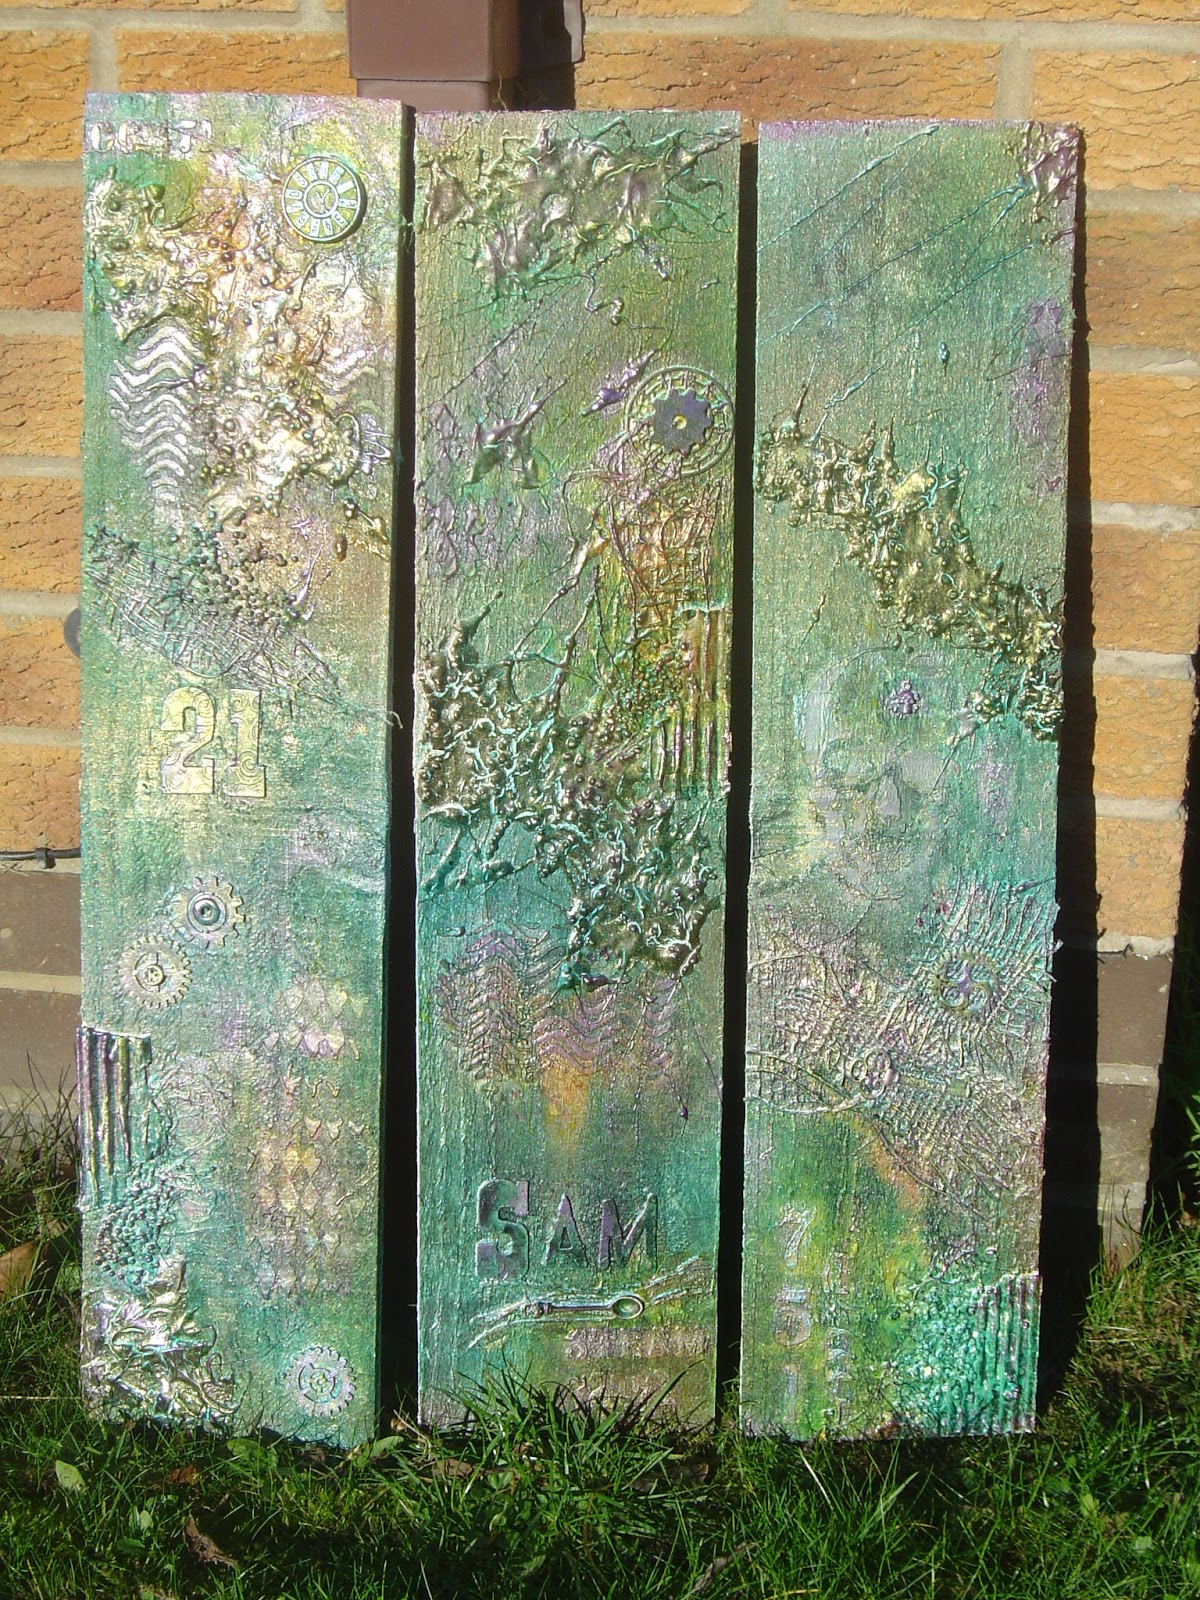
So this morning, I added violet shimmer and yellow shimmer Decoart media sparys, dazzling metallics in berry and teal, metallic lustres in black shimmer, majestic purple, elegant emerald, brilliant turquoise and champagne ice until I was happy with what I had.

As the sun was out, I took them outside in the garden and took some photos.

Close up of the stenciled skull hi-lighted in black shimmer and the mix of powertex, 3d flex and sand balls.

Close up of the grungeboard numbers and wooden cogs.

Another close up of the stenciling and paste mix.

Close up of the stringiness we managed to achieve with paste mix and power cotton.

Love how the mix on this one crackled once heated.

Close up of the burlap and metal embellishments.

And one more close up, stenciling, wooden cog and paste mix in bottom corner.

Then I came back inside and took another photo. Obviously they look duller and you can't see the metallic as well.

Another close up of the middle of the middle panel.

Another close up of the key and cog sat on the burlap.

And finally a close up of the bottom of the right panel. Right in the bottom corner you can see the corrugated cardboard and sand balls.
I love how they've finished up really grungy even though I've used a lot of metallics to hi-light the textures.
We took this workshop with Alli Turner of Allison Turner Designs, please contact her through her website to arrange classes.

11 comments:
Hiya,
Wow brilliant description of the techniques and photographs from the day.
I Cant wait to see everyone else's photographs.Thanks again for your company and organising the day.x
Alli .xx
amazing write up Sam, as you see I have just posted mine too... think I may go back with some more colours though! Your panels look fantastic. what a great day, once again with you all and Allison. xx
Sam you've finished it off beautifully...I love the colours you've added it's turned out great...thanks for a lovely day and my lovely pressies xxx
This looks amazing work Sam
Love Chrissie xx
That looks amazing!!
Your project is fabulous Sam... I love the different layers and textures
What a fab day and workshop! It was great to see everyone and I love the project even though mine's not finished yet.
You've finished yours off beautifully with fab colours and lovely shimmer. Alison's workshops are always so fun with amazing results.
Hugs
Lesley Xx
Wow Sam - Your panels are fantastic. It seems like the more I do something to get it where I like it, the more I muck it up!
sandy xx
Amazing stuff Sam - you all look like you had a fabulous day.
xxx Hazel.
Sounds like you all had a fab day, I love the project - the textures look amazing and the metallics really emphasise them! Claire x
Hi Sam, just popped over from Helen's as I realised I've not been to see you for a while! Looks like you all had a great time at the workshop and loving the results. Happy crafty week, Angela x
Post a Comment