

We were all meant to be making a canvas incorporating different metal techniques that Lin Brown was going to show us over the weekend, but Lesley had managed to source us some mdf arches, so I decided I wanted to do an arch instead. This is the said arch.

I don't have any close ups of the arch in it's primary stages, but here it is, perched on the edge of the table as I was working on the individual pieces. After I'd used molds and tools to create the shapes and patterns I cut them out and stuck them to the mdf with red liner tape being careful not to squash the individual pieces.

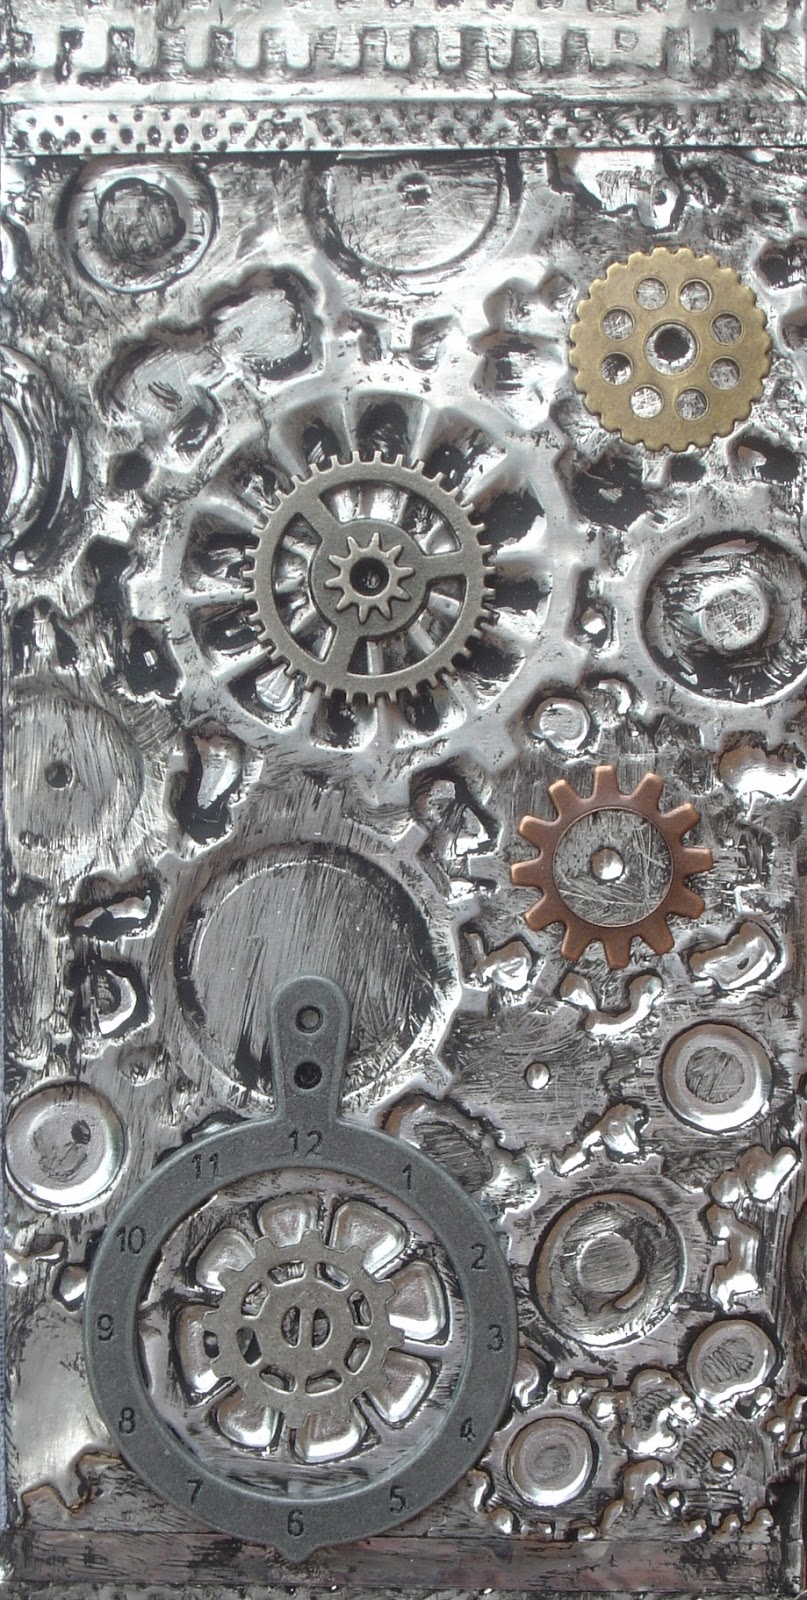
You can see how shiny the metal was in the photo above, once I'd placed all the pieces I covered the whole arch in black paint and wiped back to create the above effect.

I hand wrote the word and used metal tools to create the embossed effect and refine the letters. It's quite tricky as you have to write the word backwards on the back of the metal.

Close up of the embossed lettering using the mold.

A close up of the cogs mold.

And the fancy pattern, again a mold.

And the final section, the grid of squares.

Using a piece of previously printed fabric from a gelli plate I stamped a collage of images using black stazon and various stamps.

I put the fabric in the aperture and placed some metal embellishments.

I know this doesn't look much different from the one above, but it now has the fabric secure in the aperture, the wadding and the back on the arch. So the fabric is now padded.

And the arch is clamped with clips to help the front and back pieces to stick together being careful not to squish any of the metal embossed sections. I left it clipped up over night to ensure it had stuck properly.

I painted the edges and added some metal embellishments.

I was still pondering whether to add the clock face and the corner pieces but then had a little brain wave. I rubbed them over with silver metallic lustre to really dull them down.

Close up of the metal clock face.

The left corner piece.

The right corner piece.

I don't know if you can actually see the padded fabric from this photo, but it's there.

The finished piece in the garden with the daisies!!

7 comments:
Both your projects came out so well, Sam - I love the arch, it is gorgeous, I don't think I really saw it at the weekend. The second piece is equally fabulous. Speedy crafter!!
Sam it came out brilliant!! Cannot wait to start mine...love the stamps you've used for the centre xxx
Wow! That is stunning!!!
I love it Sam - fantastic project
Absolutely amazing Sam! This turned out so well and I'm glad I managed to get the arches. Wonder how long it will take me to get round to making one
Hugs
Lesley Xx
A big 'wow' for this Sam it is stunning. So many patterns you have added to the wonderful shape
Love Chrissie xx
Lovely Sam - I know when I did an arch with LB and LF it was my favourite piece and remains so to this day. I just love how you have done yours - well worth the "time" spent on it.
Hugs, Neet xx
Post a Comment