Monday, 30 June 2014

Andy Skinner Weekend - Day 2


We gave the book covers a very thin random coat of modeling paste, made marks in it and once dried gesso'd them. Painted them yellow and added the red, but by this time the yellow had dried so I used a very wet brush to blend it all together.


Randomly stamped script on the front, back and spine and stippled gesso through some stencils, front and back.


Once dry, painted over the gesso with the translucent yellow to tone it down. Next we were supposed to paint on interference colours but it made it way to blingy for me, so I missed that stage out. Then we edged the book in black ink, but I used paint. Finally coated the covers with some soft touch varnish to protect it. It does give it a lovely finish, I'd seriously recommend this product.


We covered a wooden heart with modeling paste, we were meant to use gesso, but we'd used it all the day before!! Using a paintbrush and straw we made marks in the paste and dried it with a heat gun. We dry brushed it with gesso again before creating our own mixes of colours to colour the outside panels. We used one colour for the middle and a mix of red and yellow in the middle and the clear crackle paint again. The white was added last using gesso and an embossing tool.


The heart was meant to go on the front of the book like this, but I've decided to keep them as two separate pieces.

Andy Skinner Weekend - Day 1


This is what we made over the weekend. The book and heart are fairly straightforward and we did these on Sunday, but the layered heart has lots of layers to build up texture on the middle piece of foam board. Luckily I took lots of photos!!


This is Andy explaining what we were going to be doing.


Emma protecting her holiday nails!!


We were given 3 pieces of black foam board and drew around the middle and small one on the piece underneath, so we roughly knew where they were going to stack. Gesso'd the outside of the large piece. Glued an embossed piece of card to the smallest piece and added 4 large pearls. The middle piece had lots of layers.


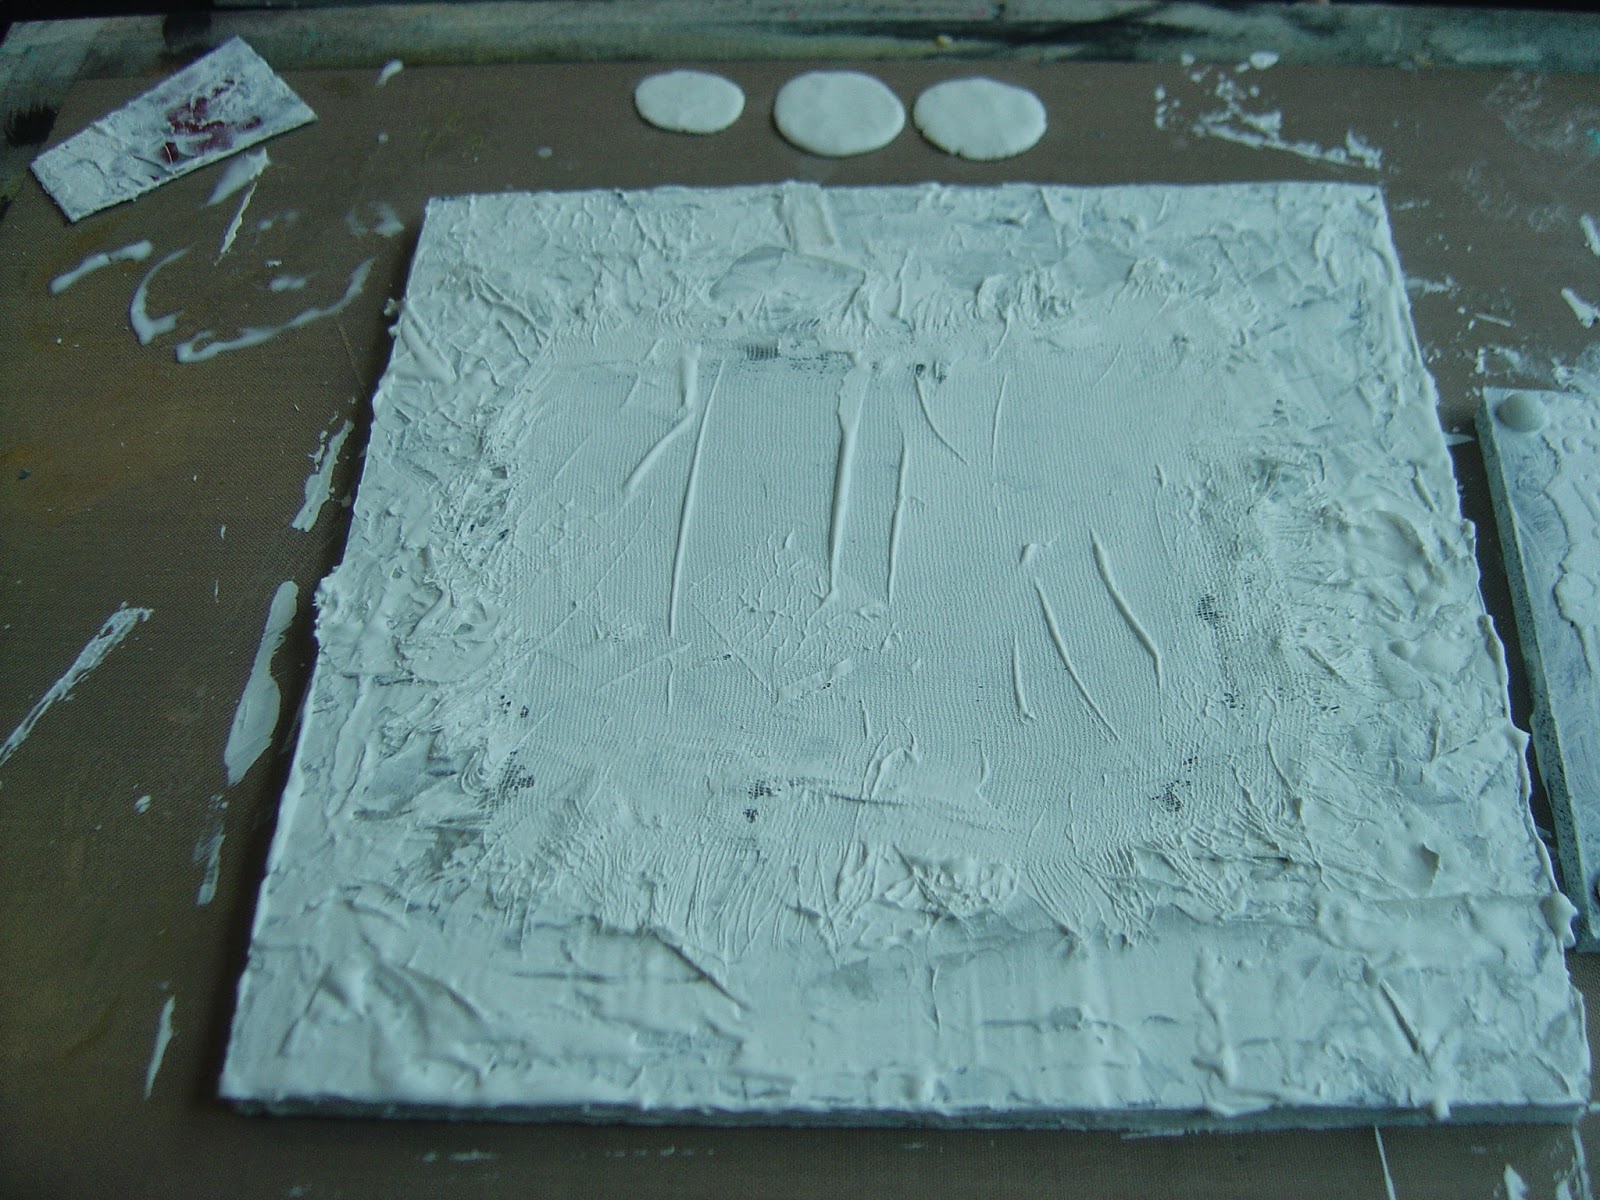
Randomly added masking tape and texture paste through stencils around the edges, keeping the middle free as we frayed a piece of cheesecloth and matt medium'd it to the centre. Then we covered the whole piece in gesso.


Gesso'd the smallest piece too.


Added blobs of glue with the glue gun to the middle panel to create more texture and painted the middle and small pieces black.

Somewhere along the way we added some texture sand paste mixed with matt medium and spread it around the edges of the small and middle pieces.


Dry brushed gesso over the top to bring out the texture.


Close up of the embossed card and pearls.


Close up of the texture paste, glue, frayed cheesecloth, dry brushed.


Dawn and Pam, two lovely ladies.


Andy painting the nails!


Stamped script around the edges of the largest piece and then started to build up the colours.


And I ended up with this.


And this for the middle piece. We used a paynes grey and then translucent orange and yellow around the edges to create the rust effect. All the products were DecoArt as this is who Andy works for.


And the same with the smaller one, so now the pearls look more like rusted rivets.


This is Sue, the lovely lady that organised it all.


Everyone patiently sat waiting for their next instruction and for the product to come round the table.


We also painted a wooden heart in bright red and added clear crackle paint. We were meant to stamp script over the heart but I loved how my heart cracked so didn't want to cover up any more of it. I hi-lighted the cracks with black paint. Glued each piece on top of each other and this is the finished project.

I think I will do Sunday's project on a new post.

Wednesday, 25 June 2014

Summer of Colour - Week Three


It's week 3 over at Summer of Colour on Twinkles blog. Main colours are lavender and grey with a splodge, splash or pop of plum.


I chose mushroom and elephant fresco paints to colour the background of the mdf shaped heart. I added elephant and black to grunge paste, applied it through the heart stencil and whilst still wet, stamped into it. I stamped my other neglected Dina stamp in a mix of black and royal purple stazon. Randomly added parts of other stamped images with the same colours.


Covered the GP areas with pewter treasure gold and outlined the 2 main images with a black smudgy pencil and went back in and added a few hi-lights on the heart too.  Added the words and fibres.

Artful Times also have a theme of wood this week.

Simon Says Monday have a theme of I ought to use it more - ie the Dina stamps!!

Love Rocks


This is the other half of the background from yesterdays tag. Dina Wakley and Hero Arts hearts stamped in black stazon along with the words from the same Dina plate, collaged hearts.

Tuesday, 24 June 2014

Encourage


Again using alcohol ink and spritzer tool I created another background using sail boat blue, raspberry and wild plum. Main image is a PA stamp. The background stamps are a mix of Hero Arts and the word is part of a TH stamp.


Monday, 23 June 2014

Green Onions & Stampotique


Over at Craft Test Dummies product review they have used alcohol inks with the distress marker spritzer. So I had to have a go. I used meadow, clover, citrus and willow alcohol inks, because over at Sunday Stamper the theme is green onions, ie use green on your project.


This is the other half of the piece of glossy card. The butterfly looks blurred as I over stamped the image onto a piece of acetate, slightly heated it and placed it over the top.


Stampotique have a theme this week of say it with words.

Sunday, 22 June 2014

Oriental Plaque


I started off with a fairly small piece of plain MDF.


And then I forgot to take any more photos, and ended up with this.


Close up of the grunge past through the mini bamboo stencil and olive green and oxynite treasure gold.

Artful Times have a theme of made in / on wood.

I'm also entering into this month Artistic Stamper as they have a theme of red.

Bleach Block Tag


Over at the Craft Stamper Magazine blog they are sharing a technique called bleached blocking, which basically means removing ink from a water based background using damp foam distress ink pads.

I used seedless preserve, picked raspberry, faded jeans and broken china distress inks on the background, then took some of the colour out using a damp blending pad. As I haven't used lonely girl for ages, I decided to give her an outing.


I didn't feel that much of the ink had lifted off on the first tag, so I tried it again on a different type of paper, and this one definitely did take ink off, although I forgot to take a photo as it looked pretty good!! Again another Dina W stamp that I've not used for a while and the Traci Bautista one in the background over some tissue tape.

Saturday, 21 June 2014

Handmade Winnings


A while ago I won a prize on Jo's blog by taking a guess as to how many more squares Jo had stitched.  Ironically I was the first person to guess and I got it spot on with 102. Jo gave me the choice of notebook or needle case in colours of my choice. 


So I chose a notebook in shades of green.

Thank you so much Jo, so much to look at, the beads along the front edge are gorgeous and the stitching is so unusual (to me anyway) and of course, I just love the colours and the beads are a magical touch.

N is for Numbers


Over on the DragonsDream TIO blog my good friend Helen has chosen this weeks theme of stencils and the letter N.  I used 3 stencils, diamonds down the left, T!m's ruler down the right and PTP dangles across the top. And as my N is for numbers I randomly stamped numbers in the background, added some tissue tape and the bingo board from a TH stamp set.

Friday, 20 June 2014

Inside Change


Over on the PA blog there is a new guest designer called Seth Apter, now you may of heard of him as he has designed some of the Stencil Girls stencils. He made a project, which you can see here using his new ones and fresco paints.


I didn't have any cold press water colour paper so I used a piece of hammered card and scraped chartreuse over the top with a credit card. I stamped the grungy background images in seaweed and snowflake and added tikka to the grunge paste before applying it through the stencil.


Close up of the seaweed and snowflake stamping.


I added black fresco through the only one of Seth's stencils that I have, outlined in black and white posca pen, added parts of my new PTP stencil (dangles) and this is how it ended up.

Friends - Thank You


Look what I got through the post last week, a fantastic mail art envie.


And inside what lovely handmade artwork, an atc and a tag from my twitter friends Lin & Chris, neither of whom have a blog, but we are working on them to get one!!


And also they bought me this wonderful PTP stencil called dangles - thank you ladies, it is very much appreciated and has been used!!!


Wednesday, 18 June 2014

Summer of Colour - Week Two


It's week two of Summer of Colour over at Twinkle, Twinkle like a star's blog. The two main colours for this week are coral and dark teal, and the pop, smudge or splash colour is bright white.


As I enjoyed the background of my graffiti tag so much I decided to use the same technique using pea coat fresco paint for the dark teal and I had a really hard time deciding if coral was a reddy pinky colour or an orangey pinky mix.  So I used a mix of both, the red version on the tag background and the orange on the 3 hearts.

Hope it fits the bill!!

Tuesday, 17 June 2014

Birthday Card


Over at PanPastelUk this week they have a theme of Flora and Fauna. Not my usual type of thing but I needed to make a birthday card for Martins sister, so I carefully coloured through a stencil directly onto black card with various colours of pan pastels. Stamped the happy birthday and attached using 3d foam.

Blog Archive