Saturday, 16 July 2016

Textured Tags


I have thrown everything under the sun at these two tags! I started off by adding the following DecoArt products, clear crackle, matte medium and white crackle paint. I smeared them all over the tags.


Next I used the heat tool and made all the above products bubble to create some texture. I painted the tag with chalky finish paint in lace, then dazzling metallic silver sage, then black shimmer. Next I added metallic silver from the Media range along with a coat of paynes grey. Finally I added gold, blue, violet and magenta interference paints again from the media range.


This was done in exactly the same way except instead of the paynes grey I used carbon black and as you can see, the interference paints show up much better on a darker surface, hopefully you can see the texture.


I took a couple of cardboard mounts and added a mix of ultra matte varnish and texture sand paste. I like to add some of the varnish to the sand paste as I find it helps it stick to the project better.


Once dried, I added paynes grey, transparent yellow iron oxide, quinacridone violet and magenta and interference violet all from the DecoArt Media range.


Close up of the textured sand paste.


And finally I decorated them with metal embellishments.


I had forgotten about the strips of metal that I bought at the Version Scrap show in Paris way back when.


And the mini bottle tops with the letters I got this year from Hobby Lobby.

All products are from the DecoArt range.

Monday, 11 July 2016

Altered Paint Brush


At the weekend Martin scoured the shed for some unloved paintbrushes. After base coating them a couple of times with black gesso I then gave them both a layer of black media paint, followed by a coat of dazzling metallic black shimmer. The right one I loosely tickled with gold media paint and the left one I coated quite thickly with media clear crackle.


Once it had dried I used my finger to smudge in gold media paint, I used a baby wipe to wipe it back so the paint stayed in the cracks.


I also painted some of the bristles with the gold too.


Now this ended up nothing like what I actually set out to do, but I decided that I didn't want to cover up too much of that lovely crackle.


I'd decided on a steampunky theme, but ended up making a face out of the parts.


The white on the brush above the eye is just where the glue is still wet. I gave him a dickie bow too.


His nose is a small screw with a watch part over the top, with a spring over the top of both.


Another head shot. Eyes are gears and watch parts, the tash is a brad and the mouth is a copper coil. Hair is from a stainless steel scourer (a new un-used one!!)


And finally a close up of the middle part which I just couldn't cover up as it's so decorative.

I've made this for a swap we are having over on the Mini Marvels FB group.

All products are from the DecoArt range.

Sunday, 10 July 2016

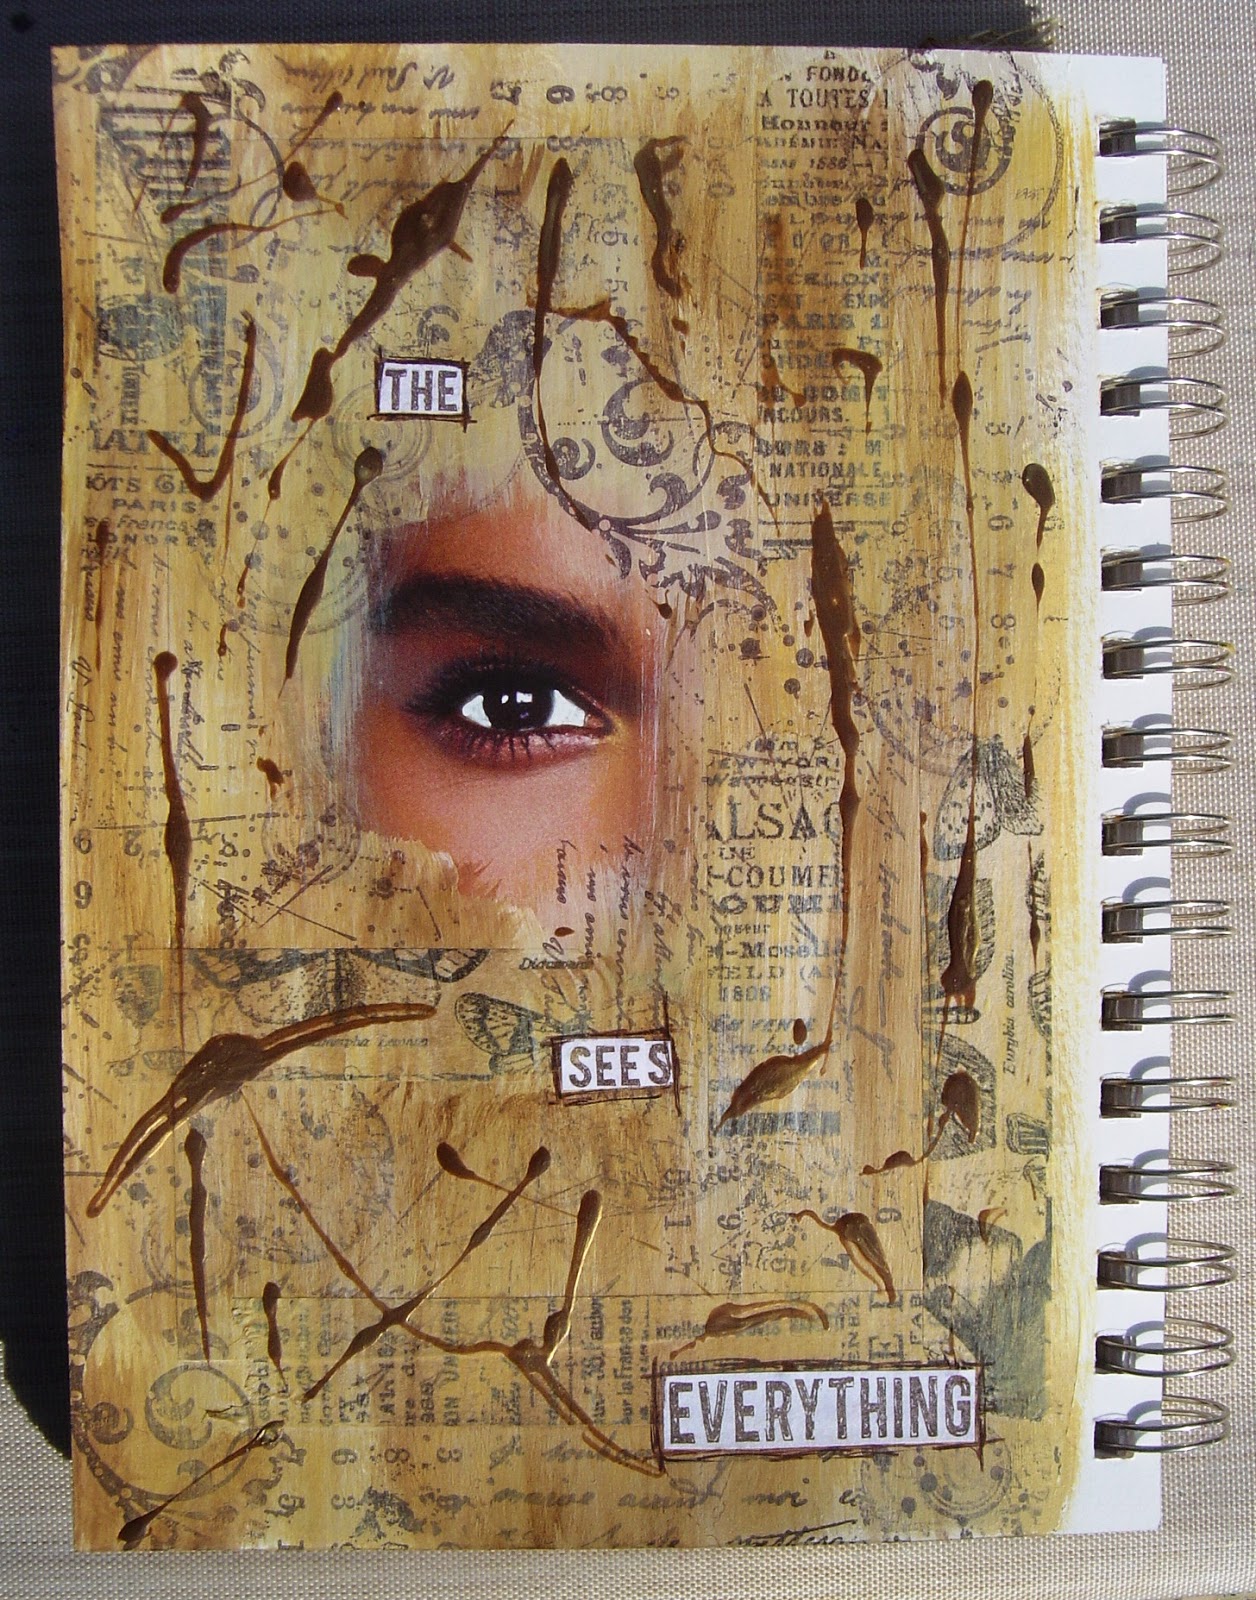
The Eye Sees Everything


I cut part of a face out of a magazine and glued it onto a page in my journal. Using the DecoArt chalky paints, everlasting, timeless and delicate. Randomly added tissue tape and then painted from the media range with transparent yellow oxide, translucent white and raw umber watered down to make it transparent. Stamped various images in timber brown stazon until I was happy with the layout. 


Added more translucent yellow oxide to help to blend the stamping into the page and coloured the white of the eye with a sharpie pen. Next I mixed raw umber with tar gel and dripped it onto the page. 


Once dry, (I left it overnight) I added interference gold to the dark splodges and gave the page a coat of soft touch varnish to seal it.

PaperArtsy have a theme of paper piecing this week.

Saturday, 9 July 2016

Open Doors


Over on Mini Marvel FB page we have a swap of fabrics, as the brief wasn't up before I made this I'm hoping I can use it. The image was stamped and transferred onto a piece of cotton scrim, next layer is a used baby wipe, next a piece of tulle and finally all onto the cerise felt.


I stitched the piece of wool all the way around the image to hi-light it and to hold everything together.


Once everything was secure I took the heat tool to it and singed the layers. And finally took my burnishing tool and melted some of the felt.

It measures approx 5.5" x 4.75".


Tuesday, 5 July 2016

Stand out from the Crowd


I coloured the background page with a mix of metalic silver and translucent white DecoArt media paint and randomly stamped a collage of my new to me Harajuku stamp images in black stazon.


Remember these little people that I created a day or two ago?


They stood out from the crowd.

**Edited**


And in the sunshine this morning

They are also going into the PaperArtsy challenge too.


Monday, 4 July 2016

Another Couple of Pages


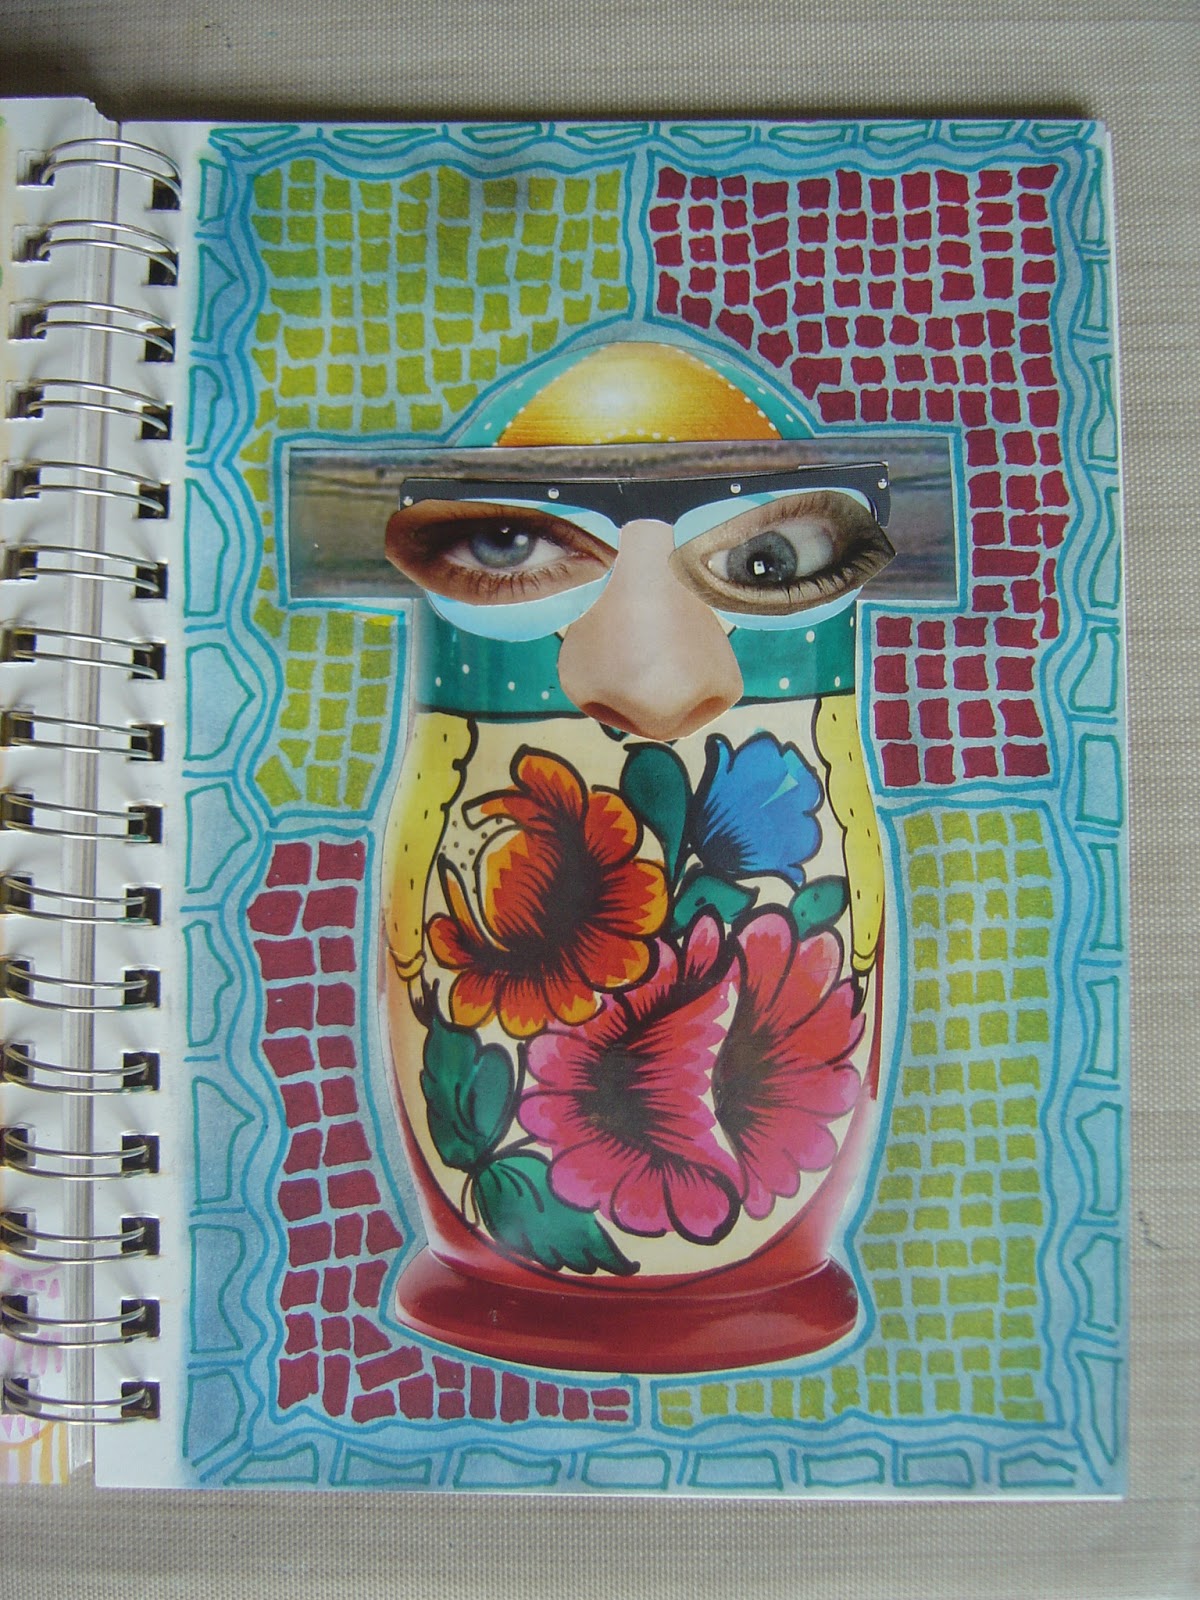
More magazine and Teesha Moore images to play with


Left page coloured with pan pastels and doodling with zig pens


Right page coloured with pan pastels, sectioned off and coloured with sharpies and bic pens


White sharpie pen used to hi-light the white of the eye and the teeth


Blocks of colour to create a maze effect

Entering into the PaperArtsy challenge, paper piecing.


Sunday, 3 July 2016

Harajuka Images


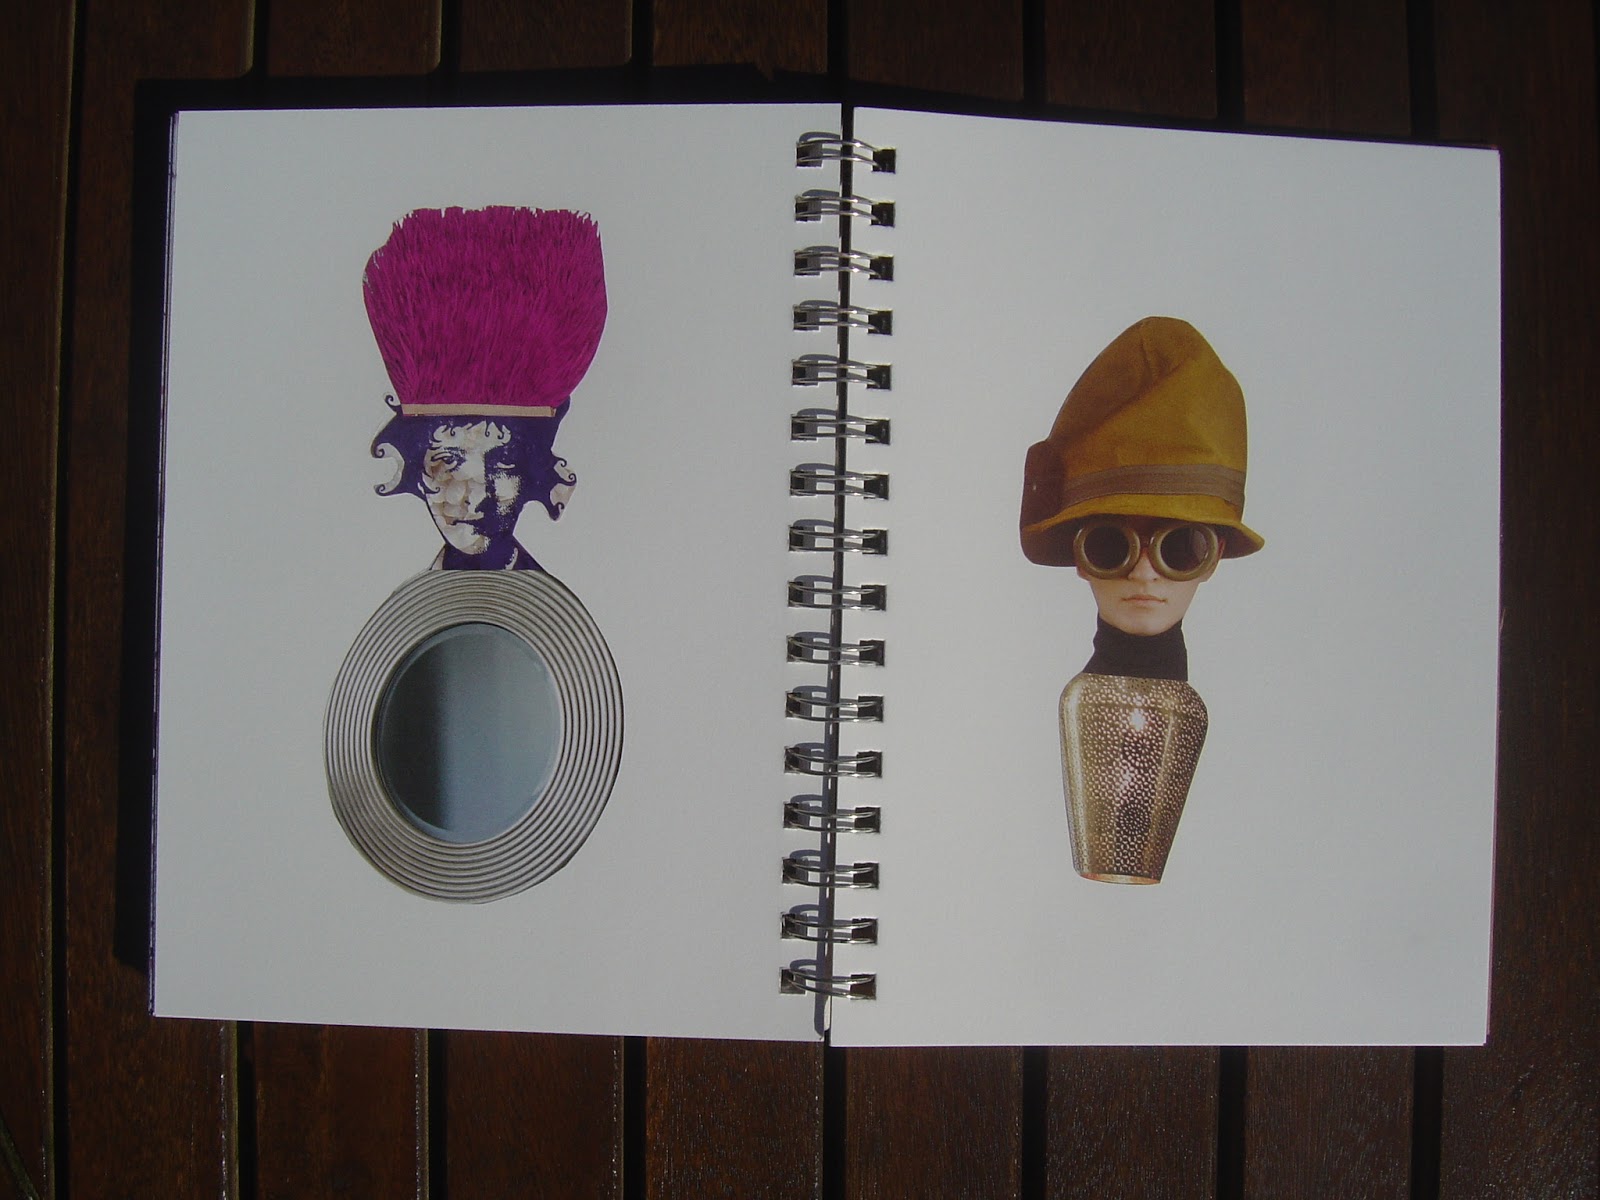
More paper piecing for the PaperArtsy challenge. I stamped the image several times on different magazine pages. Cut different pieces of them out and created new images.

Teesha Moore Style Pages


Playing with images from magazine, some stamped images and some collage sheets.


Did start off in the garden, but sun went in and wind got up and stuff started blowing around, so came back in.


Next for some borders


And alterations to the faces


Coloured the backgrounds in with portfolio pastels


More portfolio pastels for these backgrounds too


Doodling with white pen and stamping in cactus stazon 


Doodling with a black pen and hearts stamped in red stazon


Smile, on safari!! Doodled some map lines in the background


Dotty doodles in white pen

PaperArsty have a theme of paper piecing, so I'm entering my pages.

Saturday, 2 July 2016

More Lollie Sticks


There are some mini stamps in the TM stamp sets I've just received, and obviously, I wanted to try them out, so I did, on some lollie sticks.


I love how small they are, but also how detailed they are. I simply just painted the sticks with a translucent paint, I used the Golden hi-flow paints and outlined the images with a papermania white pen as it has a really fine tip.

Tags with New Goodies


I treated myself to some Seth Apter stencils and some Teesha Moore stamps. These have all been on my wish list for ages!!!


I also treated myself to a Seth Apter Webinar called Magic of Mixed Media Layers, and first off was to give your chosen surface a coat of black gesso.


Next add a rough layer of a colour you're not too fond of, hence mine are all a shade of pink - lol 


Then add another layer of another colour.


Next, add paint to another surface, ie the tag on the right, and squish it onto the other tags. 


Keep going with these layers until you are happy with what you get, added bonus is, you end up with a forth background surface.


Next add random background stamping, I used various colours of Stazon and parts of a variety of cling stamps.


Then using my brand new Seth Stencils, I stenciled onto the tags using a stipple brush.
 

I added doodling with a white and black posca pen and outlined some of the stenciling and I really liked them as they are, but as Seth said, don't be afraid to add the next layer, so here goes!


I stamped some of my new Teesha girls onto white paper and coloured them in with a variety of bright coloured pens.
  

And this is how they've finished up.

Blog Archive