Friday, 22 October 2010

PBS meets Stampotique


This is the PSB stamp that Maz bought me for my birthday used to seat the stampotique image!!!!.  The bench is stamped in timber brown stazon, I masked off the writing on the stamp.  The stampotique image was stamped onto a separate piece of card, coloured, cut out and positioned so she was sitting on the bench.  The outsides are coloured with crushed olive distress ink, a paper distresser was used on each edge and coloured with walnut stain distress ink.  The T!m scratches stamp was used in timber brown around the edges.  I stamped the words using the dymo labelling in green.  I added 3 burgandy flowers with dark green gems.  The string was attached to create a hanger.

Thursday, 21 October 2010

The Big '4 0'


Presents from Maz and Cath, PBS stamps and T!m Holtz goodies


Fantastic handmade sewn wall hanging from Chris


Gorgeous hand painted frame from Zoe


Fabulous cards from Chris, Hazel, Burn, Cath, Zoe, Ju


Leo, Anne, Alison (MB), Linda & Jack


And this is a stunning chain from Claire, housing a fab domino skeleton and beads

Thanks to everyone who helped make my 40th special.  I received loads of birthday wishes, cards and some lovely pressies as you can see from the above.  I went out for a pub lunch yesterday with my team from work and today I went out for lunch with a friend.  Tomorrow evening, dad is taking us all out for a meal as it was my nephew's 18th yesterday.  Martin and I may go out on Saturday but I might be all mealed out by then, we will see!!! On Sunday I am going to the craft fair at Doncaster Dome to spend some of my birthday money!!!

AI Postcards


Using my new stamps I created these postcards.


The backgrounds are alcohol inked in lemonade, juniper, salmon and willow.


The images are stamped with timber brown stazon.

Cards for Friends


Maz bought me this stamp (PBS) for my birthday too.  Again I kept it very simple.  The left image is embossed with weathered wood and the right with peeled paint. Crushed olive, peeled paint and pine needles were used to add colour to the green one.

The Park Bench


Maz bought me this lovely PBS stamp for my birthday. I used it to create these two simple cards. They were both stamped with versamark ink and covered wth tea dye (top) and weathered wood (bottom) distressed embossing powder.

Wednesday, 20 October 2010

Shades of Green


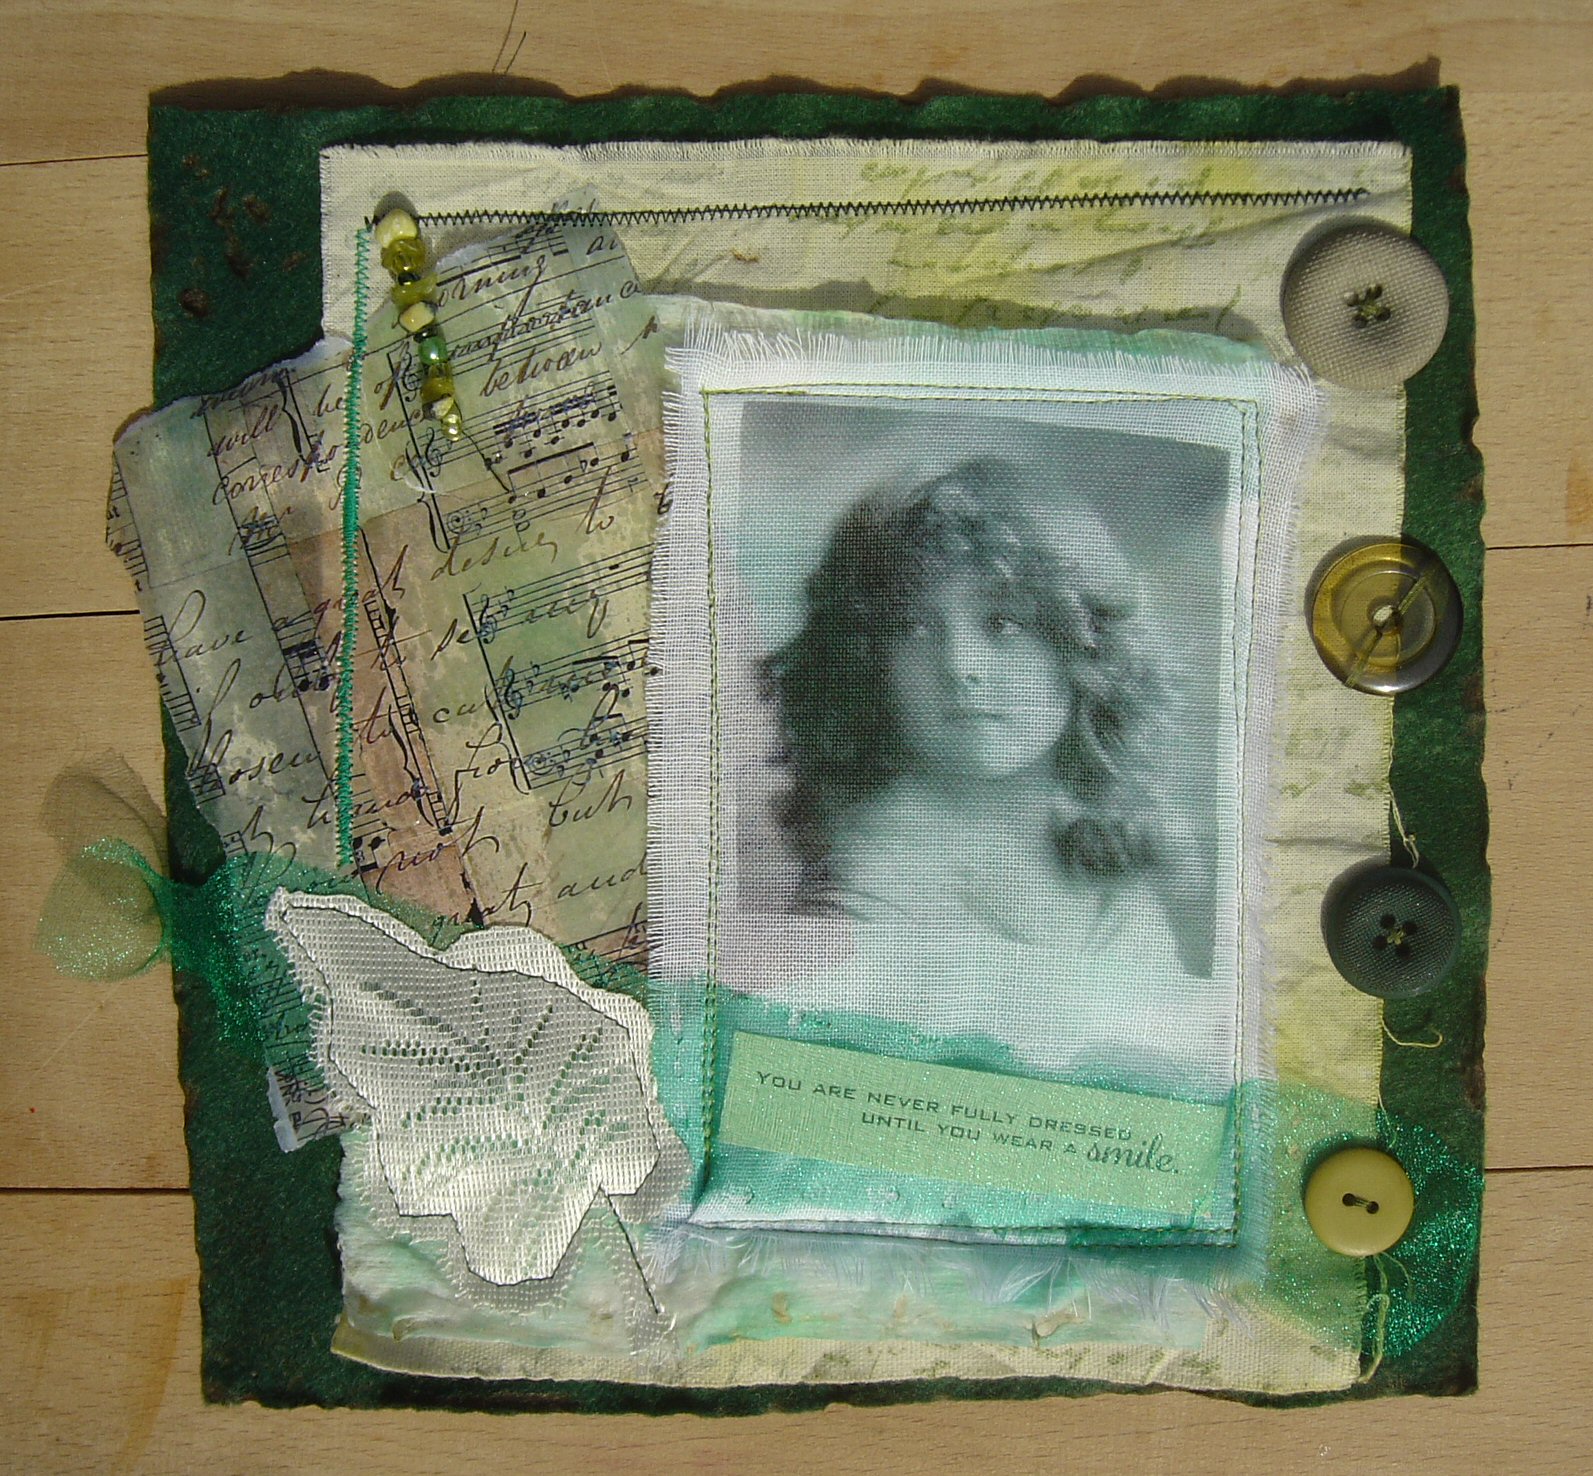
I made this for my friend Kath aka LazyKay as it's her birthday today.  Like me, she is a worshipper of green.  Unfortunately, the felt is of the type that doesn't burn properly, so it's just gone brown around the edges and I tried to burn holes in the top left hand corner, but without success, again another brown patch!!!  Hope you like it Kath - Happy Birthday xxxx

Sunday, 17 October 2010

Silkies Postcard Collages


The backgrounds for these postcards were again created with the silkies, but this card is glossy so there is a much more of a sheen to it.  The main images are from PBS, which were masked after stamping. I used various other stamps to create a background collage. Glossy accents were added to the middle set of diamonds on the left and the top of the main image on the right to give a bit of dimension.  Flowers and gems were added to finish.

Scary Fairy Postcard (2)


I tried another one with a Stampotique image and gave her some wings, but I don't think she looks that scary!!!!  The background is covered with a piece of scrunched up tissue paper coloured with purple twilight and pitch black acrylic dabbers.  The image was stamped and coloured with water colour paints, cut out and attached with silicone glue.  The wings were coloured with metalic and adirondack pens in shades of blue and stamped with the spiders web image.  The saying was stamped in black but it was lost, so I went over it in silver pen.  The tombstone is a cuttlebug die.  Oh, and the purple gems for the eyes!!!!

Scary Fairy Postcard


The background for this postcard was created using wild plum, slate and cranberry alcohol inks.  It was stamped with the stampers anonymous spiders web in black stazon.  I distressed the edges and inked them with black soot.  The saying is from Stamp It Crazy and stamped in black stazon.  The tombstone is from cuttlebug.  The fairy image, bat and tombstone were attached using silicone glue to give dimension.

I have Sam to thank for this creation, as it was she who introduced me to the challenge site that I have made it for - Sunday Postcard Art - Thanks again Sam. 

Saturday, 16 October 2010

Silkies Tag


The background was again created with silkies and a brayer.  The main image is from PBS and is stamped in twilight and raspberry adirondack ink.  The image was masked off and the script was stamped in demin adirondack ink.  The top right and bottom left images are from Art Journey and stamped in faded jeans distress ink.  The splodges are from a green pepper press plate and are stamped in eggplant adirondack ink.  I used a white pen to soften the edges of the main image. I edged the tag with the blue iris from the primary pastels colorbox fluid chalk inkpad. Co-ordinating fibres were added to finish.

Stamping on a polygon


Maz has had some weird shapes cut recently and this being no exception, a polygon (7 sided shape). So I decided to give it a go and created a stamped collage. The images are Art Journey and the swirl is Hero Arts. I used Silkies (set 1) with a brayer to create the background colours. I added a piece of navy ribbon attached with brads to create a hanger.

Friday, 15 October 2010

Stampotique Tag


The background colour of the tag is old paper distressed ink.  The tree, image and fence are stampotique. Maz lent me some more from her collection. I stamped the image, masked it off and stamped the tree. I stamped the fence on a separate piece of card and coloured it with brown and red water colour paints. I coloured the lace with walnut stain distress ink and attached it to the bottom of the tag. I stamped the lines with T!m's scratches stamp in timber brown. 

Textiles - Machine Embriodery (sample 3)


Again my paper sample


The brief for this was to create the background from the inspiration and then add threads, wools, fibres, ribbon.  Cover with a piece of sheer fabric and run rows of straight stitch over the top.  I couldn't resist using my heat gun on the access organza fabric!!!!

Thursday, 14 October 2010

Textiles - Machine Embriodery (sample 2)


This is another paper sample using pages from a text book and just one colour - blue


Inspiration for the above paper creation was taken from this recent holiday photo.


The design element for this sample piece was again line, but they had to be curved using a zig-zag stitich, a straight stitch and one other of choice.  Bright colours also had to be used, so I chose 'pink'.  The thick wool between the pieces of paper near the middle and the last paper section on the right is covered with pink straight stitch.

Wednesday, 13 October 2010

Textiles - Machine Embriodery


A few weeks ago I started a textiles course and I've chosen to go with 'machine embroidery'.  The first couple of weeks we spent being creative.  We had to choose a theme for inspiration, I chose 'trees' and the design element is 'line'.  Yes, I know you don't get purple and blue trees but we had to eventually add colour.  This, I think was my third paper sample.


Then last week we transformed our paper creation onto fabric. The idea was to get as many lines of straight stitch in as we could. I used a multi-coloured thread of blues and yellow as a contrast and then added even more lines in with a navy blue.

Obviously this is only a very simple sample, but I thought I'd share my first one with you.

Blog Archive